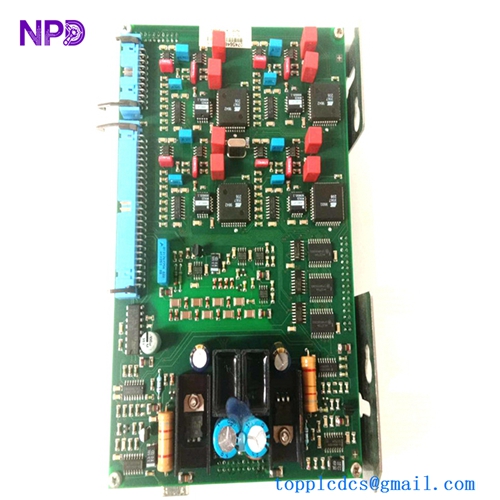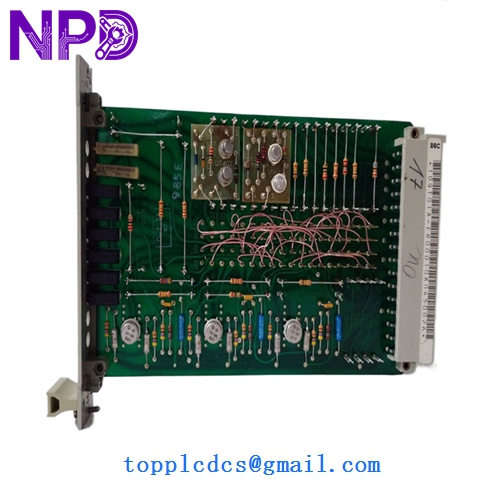

Description
- Model: 10QT01 (Reference: GJR2209300R0001 / 10QT01A-ER0001)
- Brand: ABB (Germany)
- Series: Procontic T200 (Legacy PLC / Automation Series)
- Core Function: Specialized hardware timer/counter module for precise sequence control
- Condition: Brand New Surplus (Original New), zero runtime hours
- Product Type: Timer / Sequence Control Module
- Key Specs: Multi-range timing functions | Integrated with Procontic backplane
- Module Series: Procontic T200
- Logic Compatibility: Standard T200 PLC Rack
- Timing Accuracy: High-precision quartz-based or RC timing circuit
- Status Indicators: LED display for Power and Run/Fault status
- Mounting: Snap-in rack mounting for T200 series
- Configuration: Hardware-set or software-addressable timing ranges
- Power Consumption: Sourced from the internal system bus
- Connection: Multi-pin gold-plated backplane connector
- Operating Temp: 0°C to +55°C
- Standard: CE, Industrial automation grade
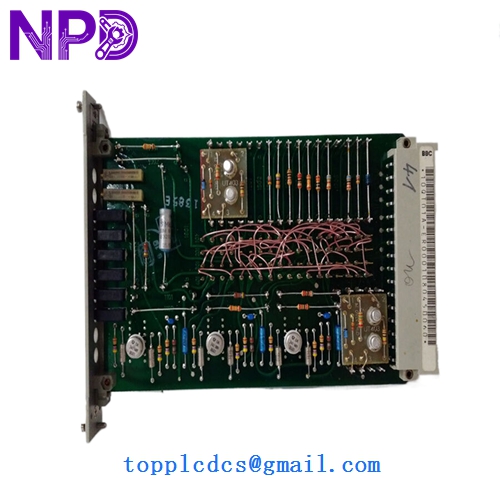
ABB 10QT01 GJR2209300R0001 10QT01A-ER0001
Installation & Configuration Guide
Phase 1: Pre-Installation (Preparation: 10 minutes)
⚠️ Safety Warning: The ABB Procontic T200 system is a legacy platform. Many existing racks have brittle plastic components due to age. Handle with care. Always power down the entire rack before insertion to avoid “arcing” across the backplane pins.
Tools & Prep:
- ESD protection (Mat and wrist strap)
- Small flat-head screwdriver (for rack locking screws)
- A copy of the original PLC logic (to verify timer address mapping)
Phase 2: Removal & Inspection (Removal: 15 minutes)
- Marking: Ensure the slot number for the 10QT01 is clearly labeled on the rack.
- Extraction: Release the locking tabs at the top or bottom. Pull the module straight toward you. Do not wiggle it side-to-side, as this can damage the legacy backplane connectors.
- Pin Inspection: Before installing the new GJR2209300R0001, look inside the rack slot for any dust or debris. A quick blast of clean, dry compressed air is recommended.
Phase 3: Installing the New Module (Installation: 15 minutes)
- Address Settings: Check for any DIP switches or jumpers on the side of the new 10QT01A-ER0001. These must match the old module exactly to ensure the CPU recognizes the timer at the correct memory address.
- Seating: Align the module with the guide rails. Slide it in firmly until the backplane connector is fully engaged.
- Locking: Engage the mechanical locks. If the module is loose, vibration during operation can cause intermittent “Watchdog” errors.
Phase 4: Commissioning (Testing: 20 minutes)
- Power Up: Turn on the T200 power supply. The “Power” LED on the module should light up immediately.
- Diagnostic Check: Ensure the CPU does not report an “I/O Configuration Error.” If the error persists, the address jumper settings are likely incorrect.
- Functional Test: Trigger the timing sequence in the PLC logic and verify that the output occurs within the calibrated timeframe.
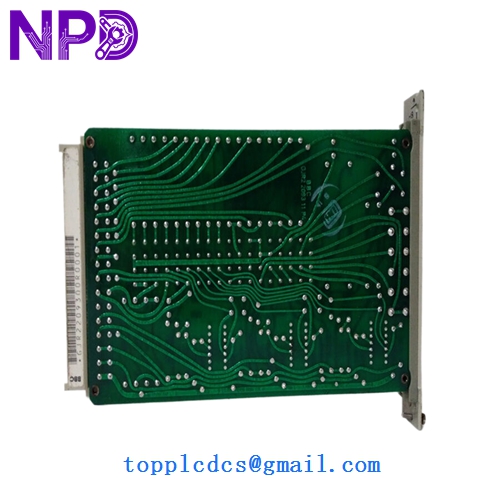
ABB 10QT01 GJR2209300R0001 10QT01A-ER0001
Customer Cases & Industry Applications
Case 1: Power Plant Sequence Maintenance A hydroelectric facility in Northern Europe used the ABB Procontic T200 to manage turbine startup sequences. When the original 10QT01 timer failed, the startup logic halted, preventing the turbine from syncing to the grid. The plant manager was told the system was “unsupportable.” We provided a new GJR2209300R0001 from our strategic surplus stock. The facility was back at full capacity within a week, avoiding a multi-million dollar unplanned upgrade.
Case 2: Chemical Dosing Accuracy A chemical processing plant relied on the high-speed timing of the 10QT01A-ER0001 for precise valve-opening intervals. A degraded timer was causing batch inconsistencies. By replacing the aging unit with our “New Surplus” module from www.newplcdcs.com, the plant restored their dosing accuracy to ±10ms, significantly reducing chemical waste and improving product yield.
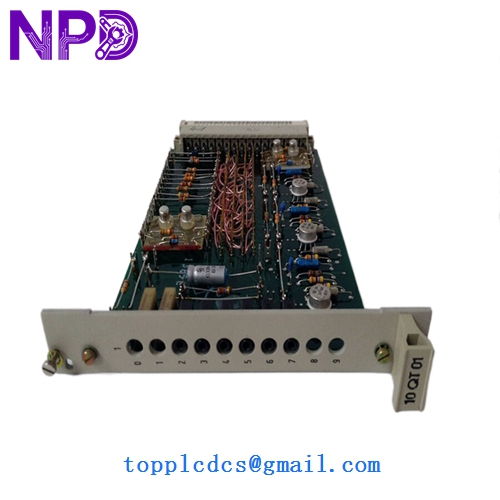
ABB 10QT01 GJR2209300R0001 10QT01A-ER0001
Frequently Asked Questions (FAQ)
Q: What is the difference between 10QT01 and 10QT01A? A: The “A” version is often a minor hardware revision designed for better thermal stability or updated internal components. In most Procontic T200 applications, they are backward compatible, but you should always verify the firmware revision of your main CPU if you are making a leap across multiple hardware versions.
Q: Is this a “New Surplus” or “Refurbished” part? A: This is New Surplus. It has been sitting in a climate-controlled warehouse and has never been used in a machine. Unlike “Refurbished” modules that have been repaired after failure, this unit retains its original factory reliability.
Q: Why does my PLC show a fault after installation? A: In my experience, 90% of the time this is due to the DIP switch address settings on the side of the module. If these don’t match the old module, the PLC can’t “find” the timer. Always double-check these before sliding the module into the rack.
Q: Do you offer technical support for the Procontic T200? A: We provide hardware support and can help verify part numbers. Since this is a legacy system, we recommend having your local automation engineer handle the logic programming. However, we can provide the original technical datasheets for the GJR2209300R0001 to assist your team.