Description
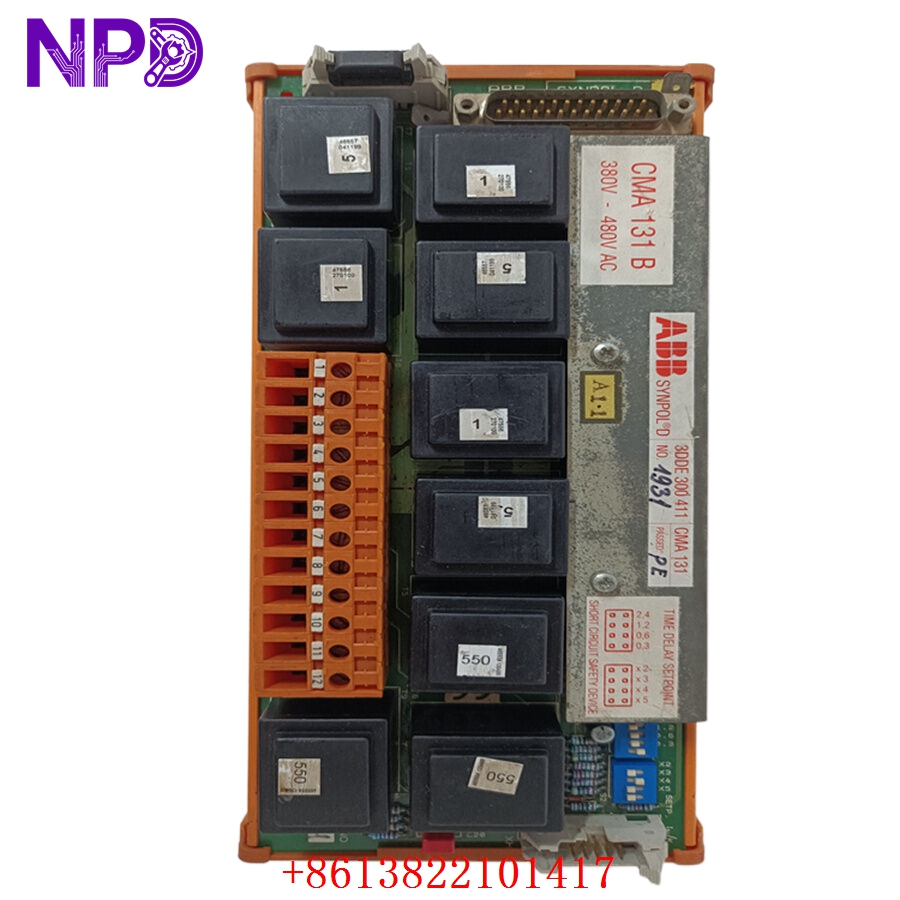
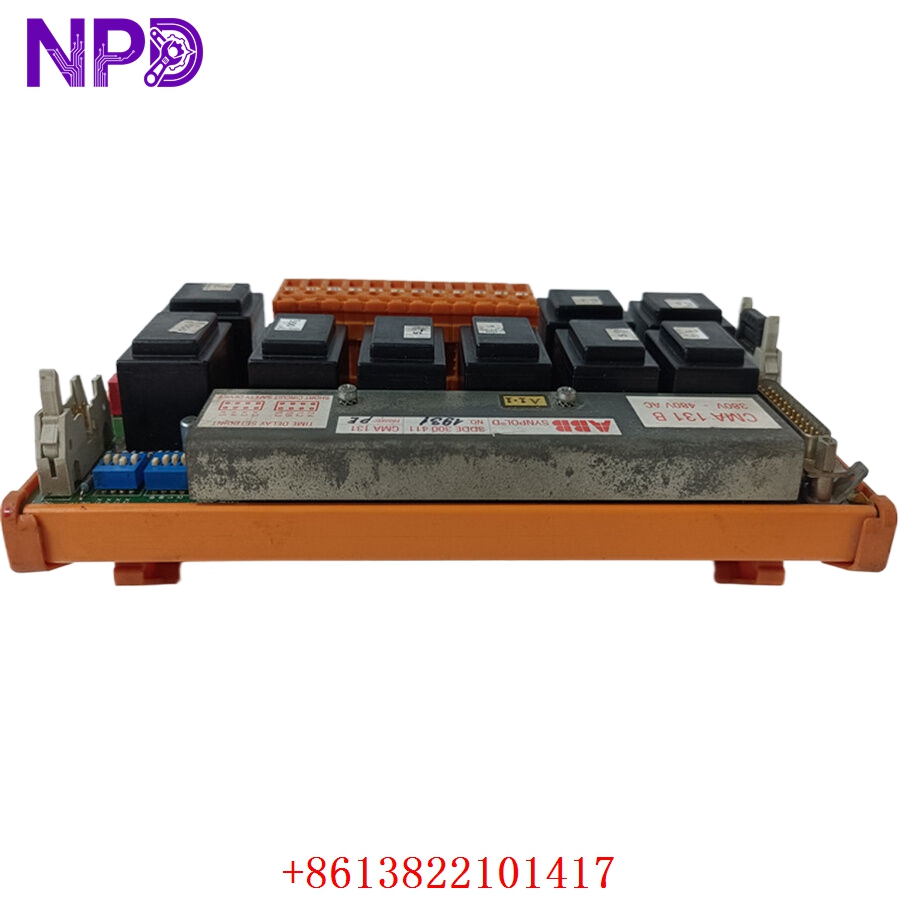
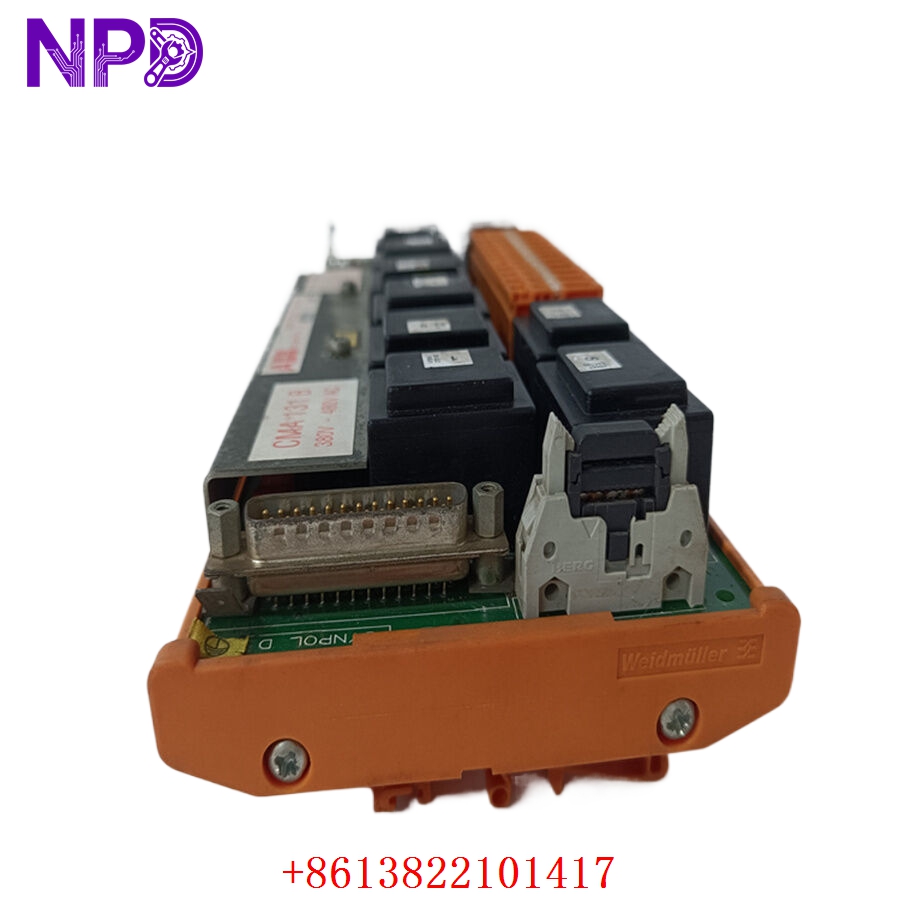
- 🔢 Model: CMA131 (Part Number: 3DDE300411)
- 🏢 Brand: ABB
- ⛓️ Series: Actuator Control/Positioning Series
- 💡 Core Function: High-precision positioning and control for industrial actuators
- 🛠️ Type: Positioning Module / Actuator Controller
- ⚡ Key Specs: Accurate feedback loops, high-speed digital processing
- ⚙️ Control Mode: Precision positioning and speed control
- 🔌 Input/Output: Dedicated actuator interface terminals
- 🖥️ Processor: Industrial-grade signal processing
- 🌡️ Operating Temp: 0°C to 55°C
- 🛡️ Protection Rating: IP20
- 💡 Status Indicators: Status, Error, and Positioning feedback LEDs
- 🛠️ Configuration: Parametric setup via interface software
Installation & Configuration Guide
Phase 1: Preparation (15 mins)
⚠️ Safety First:
- Ensure the actuator is in a mechanical “neutral” or safe position before starting.
- Isolate the power supply to the actuator and the controller.
- 🧤 Wear an anti-static wrist strap to protect the module’s sensitive positioning logic.
Phase 2: Removal & Installation (20 mins)
- 📸 Record Settings: Photograph the wiring and terminal positions before disconnection.
- 🔩 Detachment: Disconnect the terminal plugs. Remove the mounting fasteners carefully.
- 📥 Insertion: Align the module in the control panel/chassis and secure the fasteners.
- 🔌 Wiring: Connect the terminals according to your records. Verify that feedback signals are shielded correctly to prevent “jitter” in positioning.
Phase 3: Testing & Commissioning (15 mins)
- 🟢 Power-Up: Apply power and observe the Status LED. A solid green light indicates the module is ready for calibration.
- 🔄 Calibration: Perform a “Home” or “Zero” calibration sequence via the controller interface. Ensure the actuator moves to the expected mechanical stop.
- 📊 Feedback Check: Monitor the feedback signal (encoder or potentiometer) to ensure it correlates with the module’s position registers.
Customer Cases & Industry Applications
Case: Legacy Valve Positioning Repair
- Situation: A water treatment facility used the CMA131 (3DDE300411) to manage the precise opening of chemical dosing valves. The system had been in place for over 12 years.
- Task: An internal feedback logic error caused the valve to “hunt” (continuously oscillate), leading to chemical overdose alarms.
- Action: We sourced a verified New Surplus unit from our legacy inventory. Because the module was an exact hardware match, the maintenance team avoided a costly valve assembly replacement.
- Result: Installation and recalibration took less than an hour. The valve regained smooth, steady positioning. The facility manager noted that finding the original CMA131 was critical to avoiding a multi-day mechanical tear-down.
Frequently Asked Questions (FAQ)
Q: Is the 3DDE300411 the same as the CMA131? A: Yes, CMA131 is the model name, while 3DDE300411 is the specific ABB part number. They are synonymous.
Q: How do I handle positioning “jitter”? A: Jitter is typically caused by noise on the feedback signal. Ensure that your feedback cable is properly shielded and that the shield is grounded at the controller end only. Also, check that the feedback sensor (potentiometer/encoder) is not worn out.
Q: Is this unit new? A: We provide New Surplus modules. These are original ABB components that have never been used in production. We verify functionality before shipping to ensure you aren’t dealing with “mystery” defects often found in used parts.
Q: What if the module does not “Zero” during calibration? A: First, ensure the mechanical limit switches are operational. If the switch works but the controller doesn’t see the signal, check the input terminal for 24 V DC continuity. If the input is confirmed, the module’s input logic may be faulty.