Description
- 🔢 Model: 369-HI-0-M-0-0
- 🏢 Brand: GE Multilin
- ⛓️ Series: 369 Motor Management Relay Series
- 💡 Core Function: Comprehensive protection, monitoring, and diagnostics for AC motors
- 🛠️ Type: Protection Relay
- ⚡ Key Specs: High-range control power, Standard communication, Draw-out construction
Key Technical Specifications
- 🔌 Control Power: High-range (typically 85-265 V AC / 85-300 V DC)
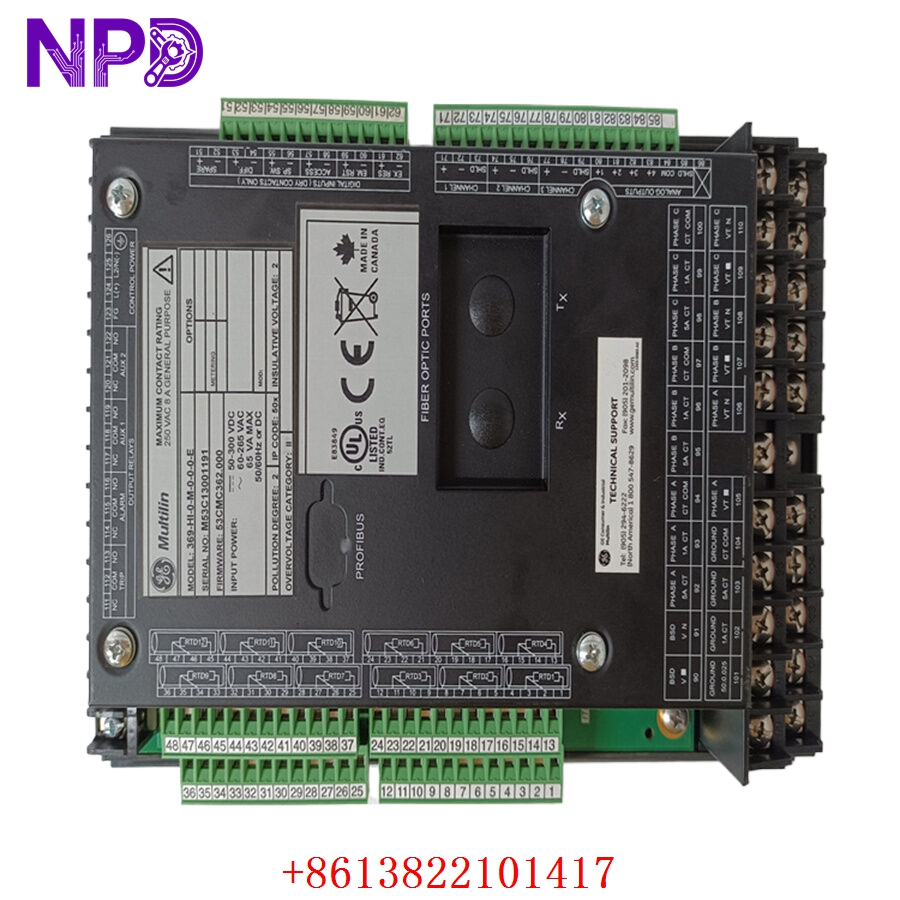
- 📡 Communications: RS485 (Standard)
- 🌡️ Motor Temperature: 12 RTD inputs (Standard)
- 🔒 Protection Features: Thermal overload, Phase reversal, Short circuit, Ground fault
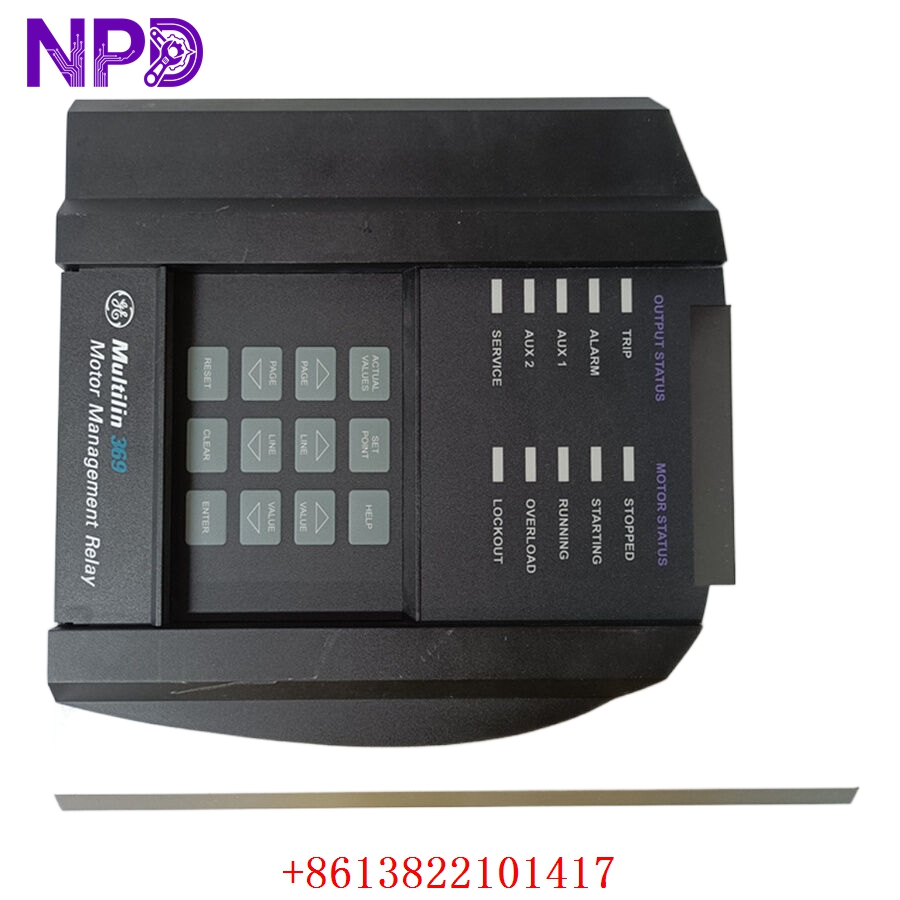
- 🖥️ Display: Integrated front-panel LED/LCD interface
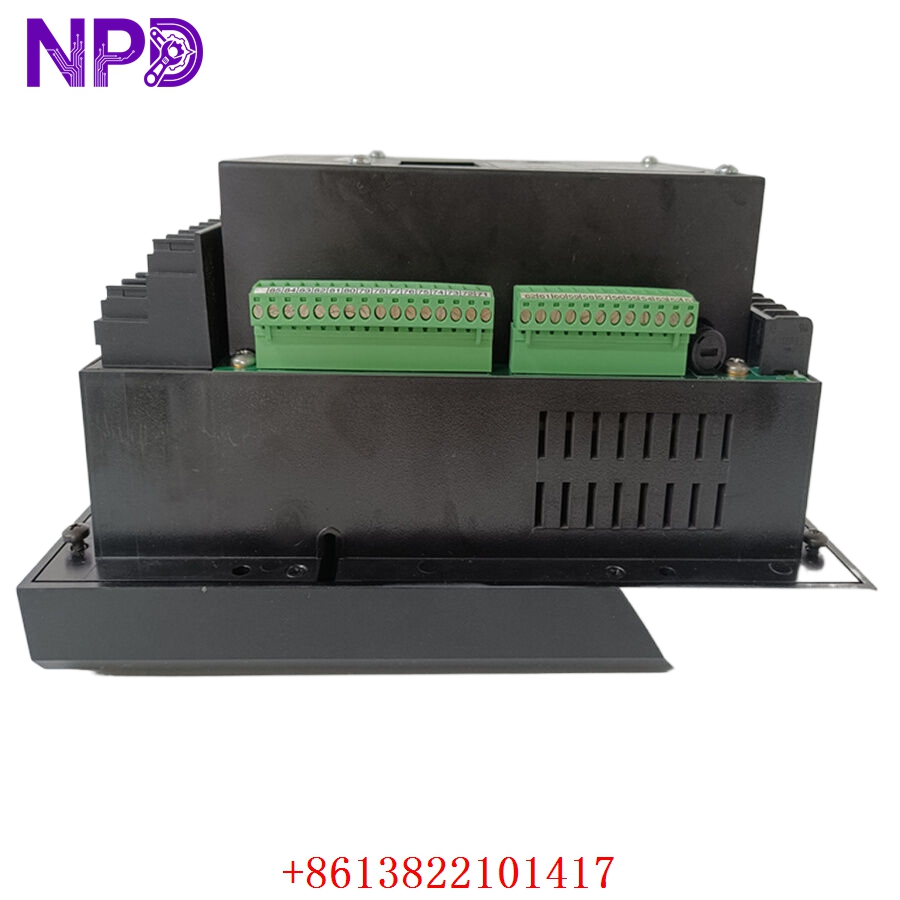
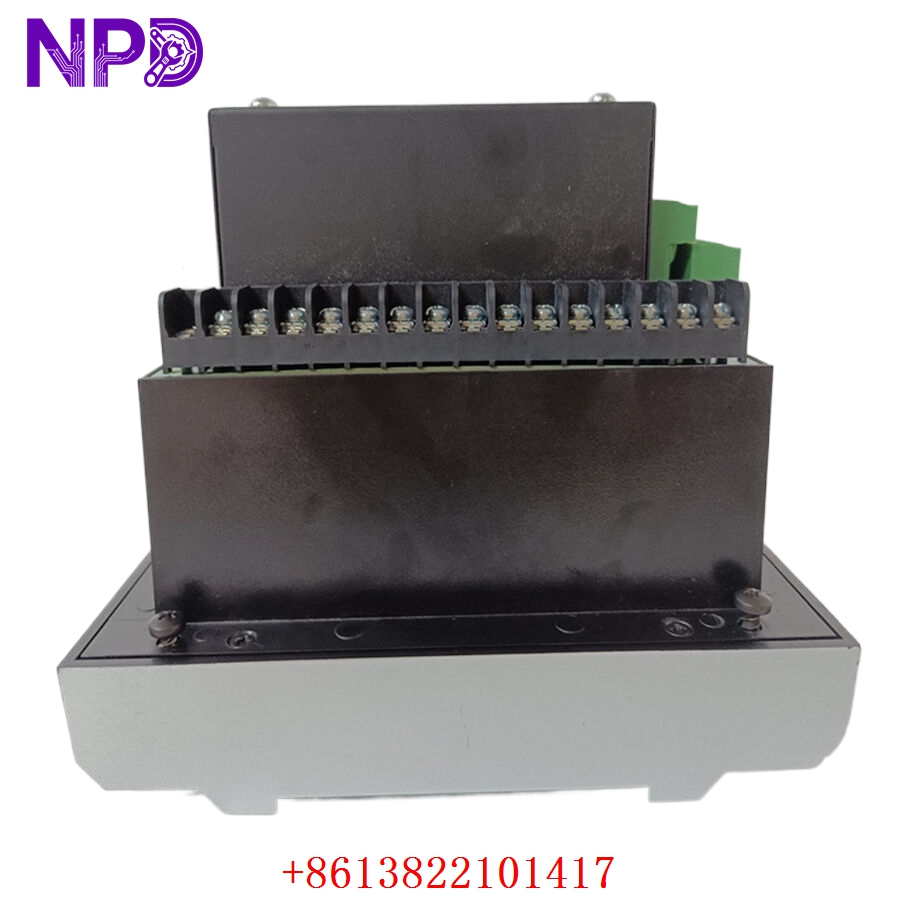
- 🔩 Mounting Type: Panel mount (draw-out)
- 🛡️ Protection Rating: IP52 (front panel)
- 💡 Status Indicators: Trip, Alarm, Relay, Communication status LEDs
- 🛠️ Configuration: EnerVista 369 Setup Software compatible
Installation & Configuration Guide
Phase 1: Preparation (20 mins)
⚠️ Safety First:
- Isolate all current transformer (CT) and potential transformer (PT) circuits before working on the relay.
- Ensure no motor control signals are active.
- 🧤 Use an anti-static mat and grounded tools; the internal PCB is sensitive to environmental factors.
Phase 2: Installation (25 mins)
- 📸 Record Settings: Use the EnerVista software to export the current setpoints. If the relay is completely dead, check your maintenance log for the original trip settings.
- 🔩 Detachment: Open the door latch and pull the relay cradle out. Disconnect the terminal blocks at the back of the case.
- 📥 Insertion: Ensure the replacement unit slides into the existing case smoothly. Do not force the draw-out mechanism.
- 🔌 Wiring: Verify all CT and PT wire connections are tight. Loose CT connections are a fire hazard and will cause severe measurement errors.
Phase 3: Testing & Commissioning (15 mins)
- 🟢 Power-Up: Observe the front panel. It should initialize and display the primary monitoring screen.
- 💻 Software Sync: Connect your PC via the front/rear serial port. Import your saved setpoints.
- 🔄 Function Test: Trigger a “Self-Test” via the diagnostic menu. Perform a simulated trip test to ensure the output relay operates the motor starter correctly.
- 📊 Calibration: Verify phase currents and voltage readings match secondary values measured by a calibrated Fluke 115 multimeter.
Customer Cases & Industry Applications
Case: Petrochemical Pump Motor Reliability Upgrade
- Situation: A chemical plant relied on a 369-HI-0-M-0-0 to protect a critical 450 kW compressor motor. The unit had been in service for 15 years.
- Task: After a voltage spike damaged the internal control power supply, the unit became unresponsive, forcing the motor offline.
- Action: They found our inventory. We provided a new surplus unit, ensuring it matched their existing setpoints and high-range power requirements.
- Result: The relay was swapped and configured within an hour of arrival. The motor was safely back in service, and the plant avoided a costly extended production delay. The maintenance manager later commented that having this unit in stock prevented an emergency upgrade that would have cost ten times more.
Frequently Asked Questions (FAQ)
Q: Is this relay a “Direct Replacement” for my old unit? A: Yes, as long as your part number matches the 369-HI-0-M-0-0 configuration, it is a direct “plug-and-play” replacement. No modifications to the panel cutout or wiring are required.
Q: Is the unit new? A: We deal exclusively in New Surplus. This means the unit is a genuine GE Multilin product, never installed, and stored in a controlled environment. We do not sell “refurbished” relays because protection equipment reliability is non-negotiable.
Q: Can I use EnerVista software to program this relay? A: Absolutely. The 369-HI-0-M-0-0 is fully compatible with the latest version of EnerVista 369 Setup software. We recommend using the dedicated RS485 cable for the most stable connection.
Q: What do the “HI” and “M” codes mean in my part number? A:
- HI: Indicates the high-range control power supply.
- M: Refers to the standard communications option. Always match these codes exactly when ordering to ensure the power supply and communication protocols are compatible with your current installation.