Description
- 🔢 Model: 369-LO-0-M-F-E-0-0
- 🏢 Brand: GE Multilin
- ⛓️ Series: 369 Motor Management Relay Series
- 💡 Core Function: Precision protection, monitoring, and diagnostics for critical AC motors
- 🛠️ Type: Protection Relay
- ⚡ Key Specs: Low-range control power, Standard communication, Flex-IO, Enhanced security
- 🔌 Control Power: Low-range (typically 20-60 V AC / 20-60 V DC)
- 📡 Communications: RS485 (Standard)
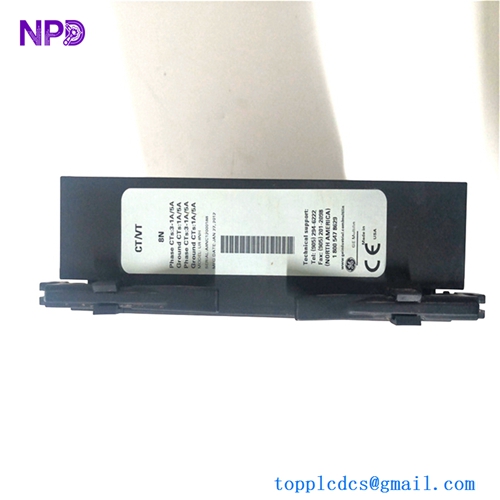
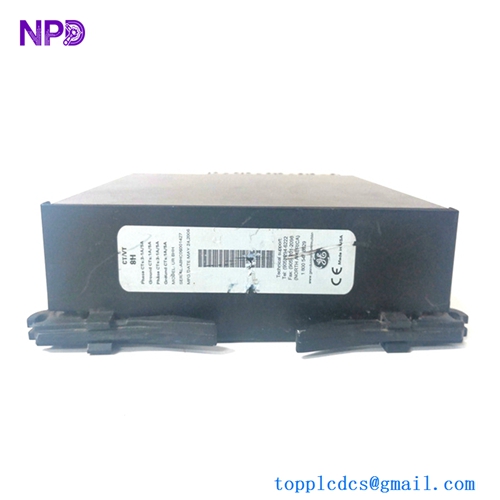
- 🌡️ Motor Temperature: 12 RTD inputs (Standard)
- 🧩 Flex-IO: Includes Flex-IO expansion capability
- 🔒 Security: Enhanced security features (Option E)
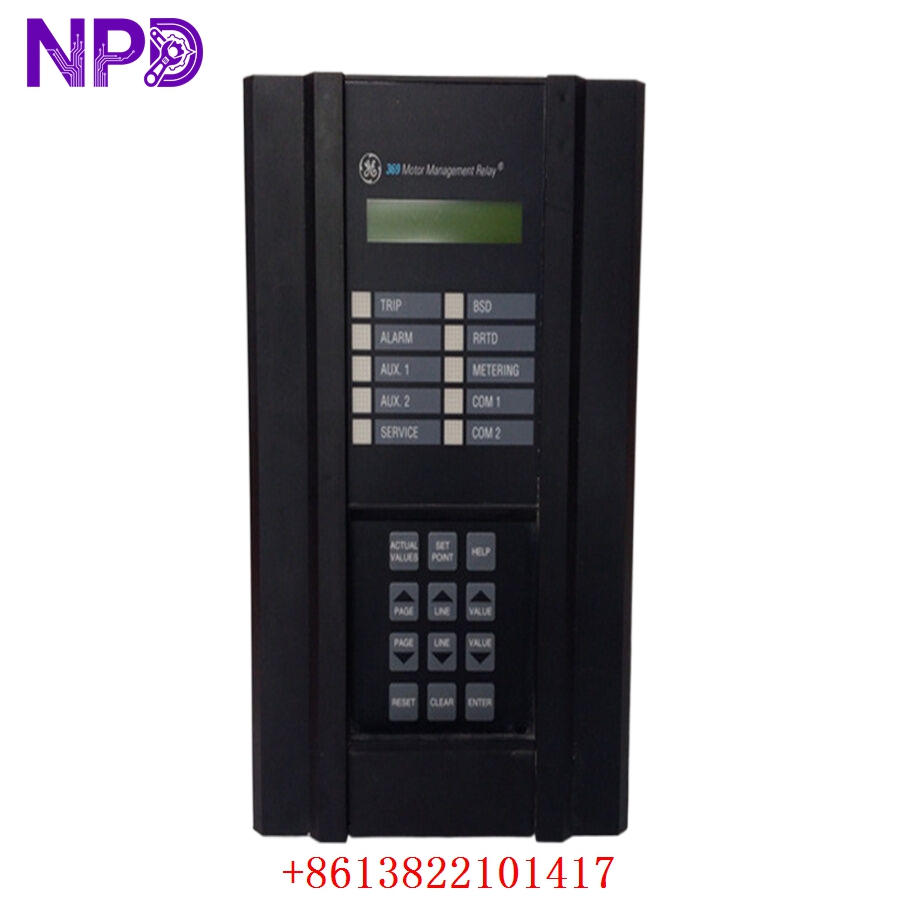
- 🖥️ Display: Integrated front-panel LED/LCD interface
- 🔩 Mounting Type: Panel mount (draw-out)
- 🛡️ Protection Rating: IP52 (front panel)
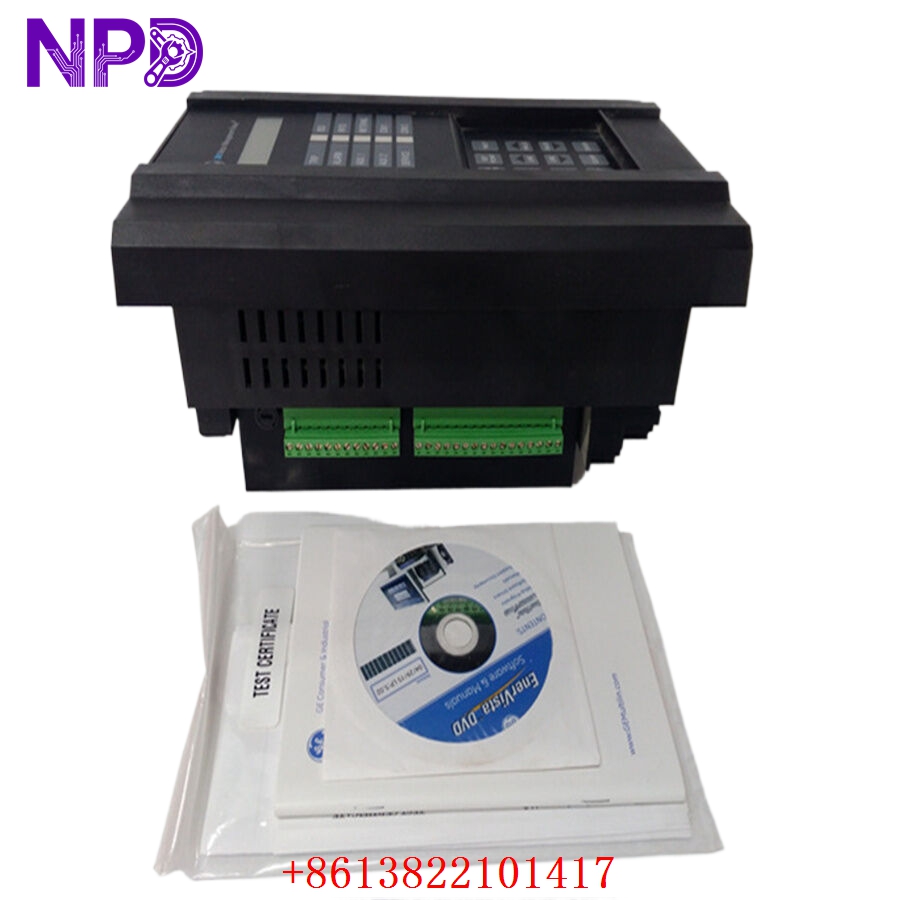
- 🛠️ Configuration: EnerVista 369 Setup Software compatible

Installation & Configuration Guide
Phase 1: Preparation (20 mins)
⚠️ Safety First:
- Isolate all current transformer (CT) and potential transformer (PT) circuits before working on the relay.
- Verify control power is disconnected at the source.
- 🧤 Use an anti-static mat and grounded tools; the internal PCB is sensitive to environmental factors.
Phase 2: Installation (25 mins)
- 📸 Record Settings: Use the EnerVista software to export the current setpoints. If the unit is non-functional, refer to your site maintenance records.
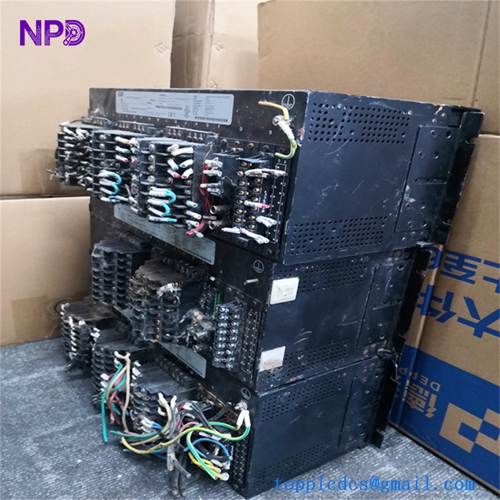
- 🔩 Detachment: Open the door latch and pull the relay cradle out. Disconnect the terminal blocks at the back of the case.
- 📥 Insertion: Gently slide the replacement 369-LO-0-M-F-E-0-0 into the existing case. Ensure the cradle seats firmly.
- 🔌 Wiring: Verify all connections, particularly CT and PT wires. Secure terminals properly; loose connections under vibration can cause nuisance trips.
Phase 3: Testing & Commissioning (15 mins)
- 🟢 Power-Up: The display should initialize. Confirm that the input voltage matches the “LO” range (20-60 V).
- 💻 Software Sync: Connect via the serial port. Upload your saved setpoints to the new unit.
- 🔄 Functional Verification: Conduct a self-test via the diagnostic menu. Manually trigger a test trip to confirm that the output contact correctly operates the starter coil.
- 📊 Validation: Check real-time values (Current/Voltage/RTD) against secondary measurements from a calibrated Fluke 115 multimeter.
Customer Cases & Industry Applications
Case: Critical Pump Protection for Wastewater Plant
- Situation: A wastewater facility utilized a 369-LO-0-M-F-E-0-0 relay to manage a critical 200 kW pumping motor.
- Task: Due to a low-voltage power supply fluctuation, the relay’s internal board failed, disabling local motor protection and preventing pump start-up.
- Action: We supplied a New Surplus unit from our inventory. The customer required the specific “F” (Flex-IO) and “E” (Enhanced Security) configuration for their existing SCADA setup.
- Result: The replacement unit was commissioned within 90 minutes. Because it was an exact match for the legacy hardware, no software logic changes were required, and the pump returned to service immediately. The facility manager noted that finding the exact “F-E” variant was crucial to avoiding a costly system-wide control upgrade.
Frequently Asked Questions (FAQ)
Q: Why does my part number end in “F-E-0-0”? A:
- F: Indicates the unit is equipped with Flex-IO (Expansion I/O).
- E: Indicates the Enhanced Security option.
- 0-0: Represents standard base configurations. These codes are critical—if your current unit has these features, you must choose a replacement that includes them to maintain your existing control logic.
Q: Is this relay compatible with my current CTs? A: The 369 series is designed for 1 A or 5 A secondary CTs (user-configurable via software). Ensure your software settings match your secondary CT wiring once the unit is installed.
Q: Can I use this relay on high-voltage control power? A: No. The “LO” designation means it is for low-range (20-60 V) power only. Using this on a high-voltage (120/240 V) circuit will cause immediate damage to the internal power supply board.
Q: Are there any firmware concerns when swapping? A: Generally, the 369 series is robust. However, if your original relay used a very early firmware version, EnerVista may prompt you to update the setpoint file during the upload process. Always keep a backup of the original file for reference.