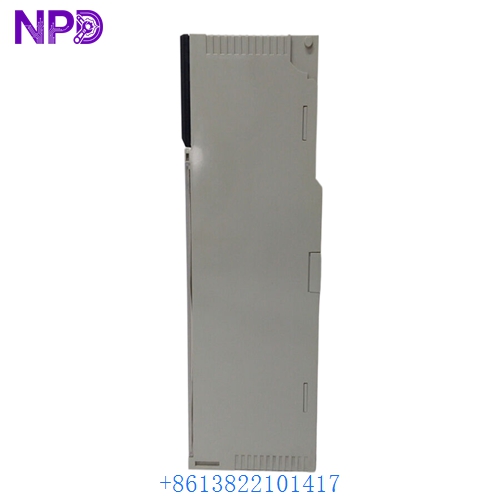

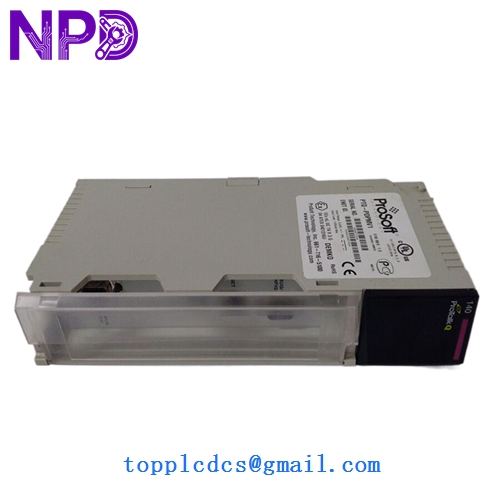
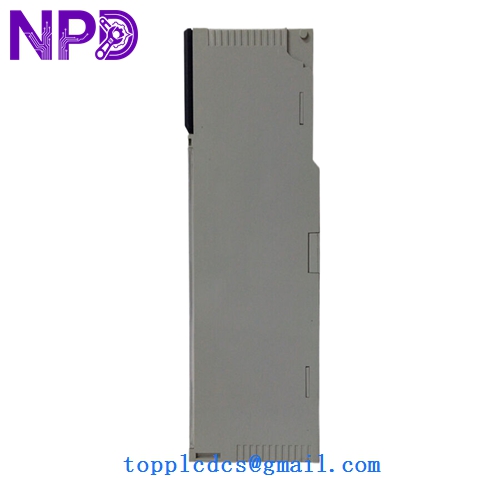
Description
- Model: PTQ-PDPMV1
- Brand: ProSoft Technology
- Platform: Schneider Electric Quantum (140 Series)
- Protocol: PROFIBUS DP-V1 (Master)
- Slots: Single-slot module
- Baud Rate: Supports all standard rates up to 12 Mbps
- Master Capabilities: Supports up to 125 Slaves on a single network.
- DP-V1 Support: Enables acyclic data messaging for extended diagnostics and parameterization of smart field devices.
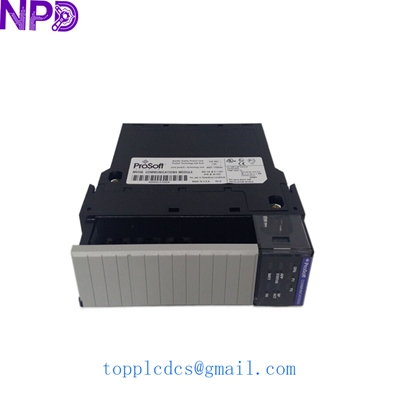
- Configuration Port: Dedicated RS-232 serial port for configuration and diagnostics using ProSoft Configuration Builder (PCB).
- Data Exchange: High-speed cyclic I/O data exchange with the Quantum CPU (up to 1536 words of input and output data).
- Isolation: Optical isolation on the PROFIBUS port to protect the Quantum backplane from network transients.
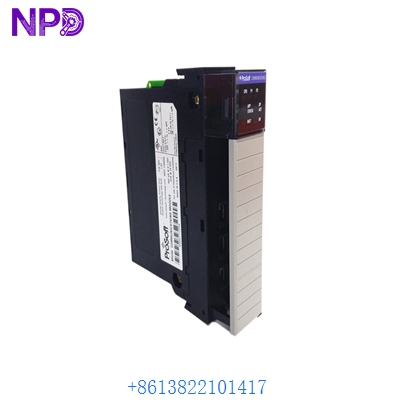
- Diagnostic LEDs: Front-panel indicators for Module Status, Backplane Activity, and PROFIBUS Network Status (Online/Error).

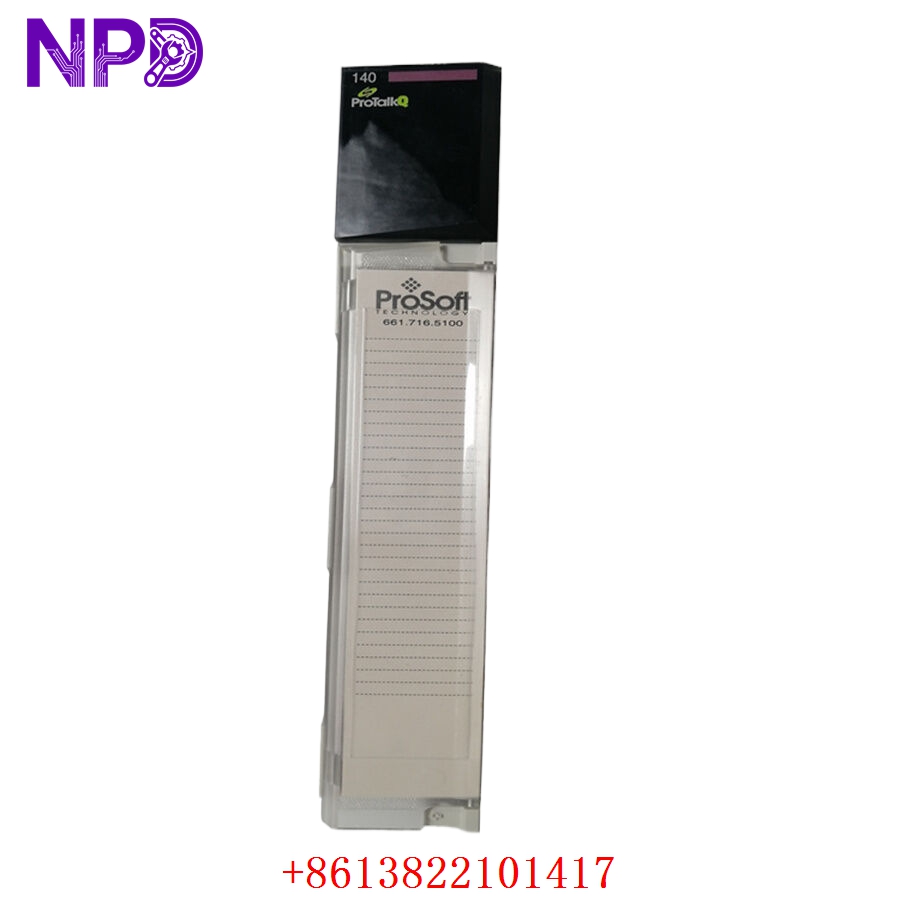
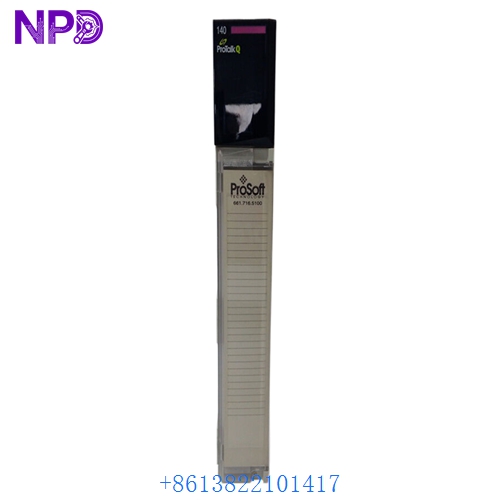
PROSOFT PTQ-PDPMV1
PROSOFT PTQ-PDPMV1
PROSOFT PTQ-PDPMV1

PROSOFT PTQ-PDPMV1
Installation & Configuration Guide
Phase 1: Pre-Installation (Preparation)
- GSD Files: Ensure you have the GSD (General Station Description) files for all PROFIBUS slave devices you intend to connect.
- Software: Install ProSoft Configuration Builder (PCB) on your PC. This software is required to define the network layout and I/O mapping.
- Backplane Power: Verify the Quantum power supply has sufficient capacity (the PTQ-PDPMV1 typically draws 800mA at 5V DC).
Phase 2: Hardware Installation
- Power Down: Always turn off the Quantum rack power before inserting or removing the module.
- Seating: Slide the module into any available slot in the Quantum rack and ensure the top and bottom levers are locked.
- Cabling: Use standard PROFIBUS purple cable with DB9 connectors. If this is the last module on the segment, ensure the termination switch on the connector is set to ON.
Phase 3: Configuration & Mapping
- Connect to Module: Use the RJ45-to-DB9 cable to connect your PC to the module’s configuration port.
- Network Design: Use PCB to add slaves, set addresses, and define I/O lengths.
- PLC Integration: In Schneider Unity Pro (or EcoStruxure Control Expert), configure the module as a generic I/O module to reserve the memory addresses mapped in PCB.
- Download: Download the configuration from PCB to the module and cycle power if prompted.
Customer Cases & Industry Applications
Case 1: Cement Kiln Drive Integration A cement plant utilized a Quantum PLC but needed to integrate 30 newer ABB VFDs that used PROFIBUS. Instead of replacing the PLC, they installed the PTQ-PDPMV1. This allowed the Quantum CPU to control the drives directly, saving the plant over $100,000 in migration costs.
Case 2: Emergency Recovery in a Water Treatment Plant A critical water treatment facility suffered a lightning strike that fried their PROFIBUS master module. Without communication to the remote I/O, the plant couldn’t operate. We provided a New Surplus PTQ-PDPMV1 via express shipping. The maintenance team used the existing PCB configuration file to load the new module, and the plant was back in full automatic mode within 24 hours.
Frequently Asked Questions (FAQ)
Q: Can the PTQ-PDPMV1 act as a Slave? A: No. This module is a Master only. If you need a PROFIBUS Slave interface for the Quantum rack, you would require the PTQ-PDPS module.
Q: Is it compatible with older Modsoft or Concept software? A: Yes. While commonly used with Unity Pro, it is designed to look like standard I/O to the backplane, making it compatible with older Schneider programming environments.
Q: Why choose “New Surplus” over “Refurbished”? A: Communication modules like the PTQ-PDPMV1 handle constant data traffic and generate heat. Refurbished units may have weakened capacitors or internal solder points. New Surplus ensures the module is fresh and provides the maximum possible uptime for critical infrastructure.
Q: Does it support Fiber Optics? A: Not directly. To use this module on a fiber network, you must use a PROFIBUS-to-Fiber converter (such as an OLM) externally.