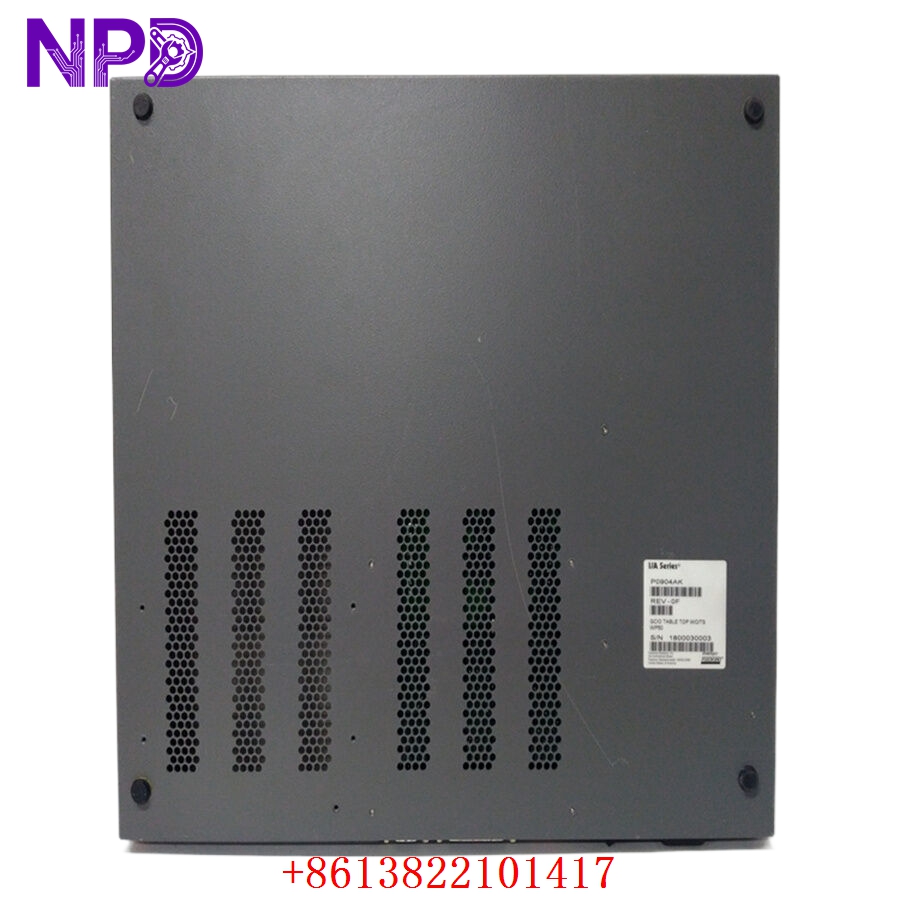

Description
The WACOGIKEN GPAR-24NB1-A is a high-performance AC servo drive engineered for precise motion control in industrial automation. As a critical component in the Wacogiken servo series, the GPAR-24NB1-A is designed to manage high-speed, high-accuracy motor positioning, making it a reliable solution for complex manufacturing machinery and robotic systems.

📋 Technical Specifications
🔹 Model: GPAR-24NB1-A 🔹 Drive Type: AC Servo Drive 🔹 Series: HI Servo Series 🔹 Input Voltage: AC (Standard Industrial Voltage) 🔹 Control Mode: Closed-loop feedback 🔹 Weight: Approximately 2.1 kg 🔹 Origin: Japan
🚀 Application Fields
⚡ CNC Machining Centers 🤖 Robotic Arm Positioning 🏭 Automated Assembly Lines ⚙️ Precision Printing and Packaging Machinery
🛠️ Product Instructions
The GPAR-24NB1-A drive must be installed in a vertical orientation within a NEMA-rated enclosure to ensure proper heat dissipation. Ensure that the drive is grounded to the machine frame to minimize electromagnetic interference (EMI). Before wiring, ensure all power sources are locked out to prevent accidental activation. Double-check the encoder feedback cables for shielding continuity, as this is critical for high-speed operation.
⚙️ Communication & Configuration Steps
⚙️ IP/Bus Address: This model typically utilizes specific fieldbus interfaces or I/O bank addressing; refer to the front-panel DIP switches or the integrated configuration console. ⚙️ Station Number: Configure the station address via the drive’s internal parameter menu (often accessible through the keypad or an external programming tool). ⚙️ Baud Rate/Clock Frequency: The communication speed is matched to the controller’s clock frequency. Set the transmission rate within the parameter settings (e.g., set to 1Mbps or standard fieldbus rates) to ensure synchronization with the master controller.
🔋 Power-up Debugging Process
✅ Step 1: Verify the AC supply voltage is within the specified operational range. ✅ Step 2: Ensure the Emergency Stop circuit is closed. ✅ Step 3: Apply power and watch the diagnostic display; it should indicate a “Ready” or “Idle” status code. ✅ Step 4: Perform a JOG command from the controller to test basic motor movement and verify encoder direction.
📋 First-time Operation Checklist
✔️ Confirm all terminal screws are torqued to specifications to avoid overheating. ✔️ Check the integrity of the encoder feedback loop—ensure there are no loose pins. ✔️ Set the software current limit to 80% of the motor’s peak capacity for initial testing. ✔️ Confirm that all cooling fans on the drive are spinning freely upon power-up.
❓ Frequently Asked Questions (Q&A)
❓ Q: What does a “Over-current” (OC) alarm code usually indicate? 💡 A: An OC alarm typically indicates a short circuit in the motor cables, a locked rotor, or an improperly tuned acceleration ramp. Inspect the motor wiring and check the drive parameters for excessive acceleration.
❓ Q: Can this drive be used with different motor brands? 💡 A: The GPAR series is optimized for Wacogiken motors. Using it with other brands requires exact matching of encoder protocols and electrical phase mapping; it is generally not recommended unless the motor profile is fully verified.
❓ Q: How can I reset the drive parameters to factory settings? 💡 A: Navigate to the “Parameter Initialization” menu via the drive interface, select the reset function, and cycle the power. Note: Ensure you have a backup of your current configuration before resetting.