Description
- Model: AS-J890-102
- Brand: Modicon (Schneider Electric)
- Series: 800 Series I/O (Compatible with 984 and Quantum systems)
- Core Function: Remote I/O (RIO) interface for connecting distributed 800 Series I/O drops to a head-end controller
- Type: Remote I/O Interface Module
- Key Specs: Single-cable RIO support 1.5 Mbps transmission Coaxial interface
Key Technical Specifications
- Function: Interfaces 800 Series I/O modules to the RIO link
- Communication Rate: 1.544 Megabits per second
- Distance Capacity: Up to 15,000 feet (4,500 meters) with repeaters
- Transmission Medium: Shielded Coaxial Cable (RG-6 or RG-11)
- Current Consumption: 800 mA at 5 V DC (from the housing backplane)
- Drop Addressing: Set via rotary switches (1 to 32 drops supported)
- Indicators:
- Ready: Solid when self-test passes.
- Comm Error: Flashes if data link is interrupted.
- Mounting: Occupies the leftmost slot of an 800 Series I/O housing (e.g., AS-H819 / AS-H827)
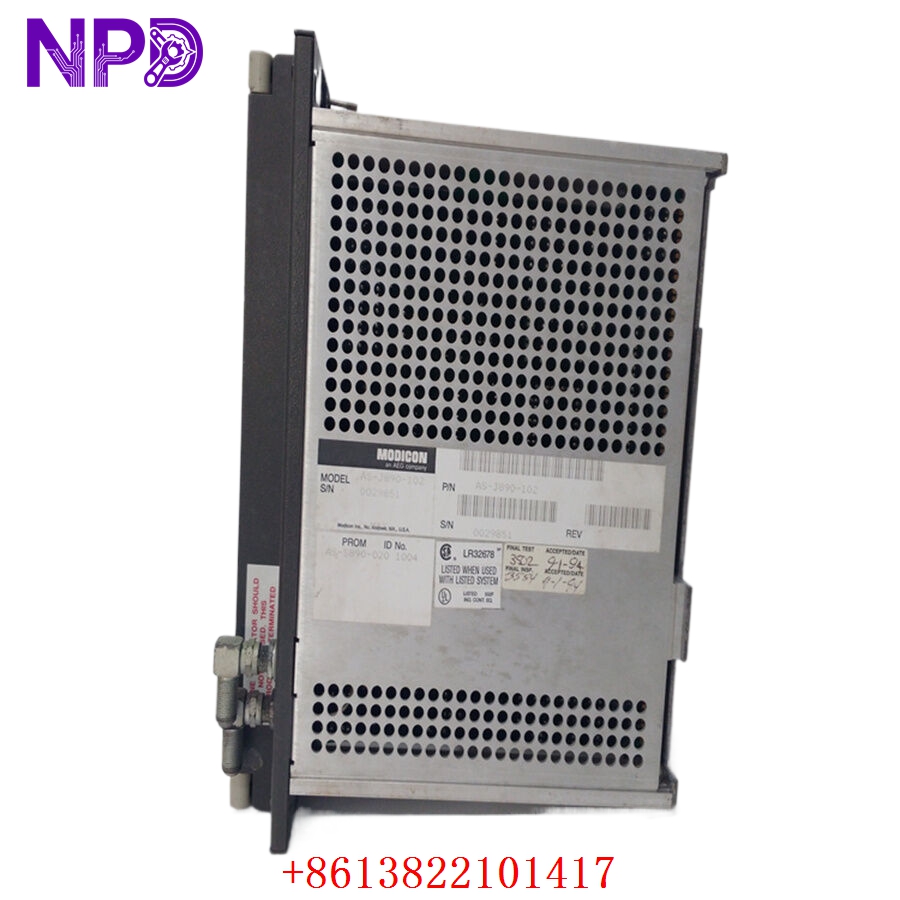
MODICON AS-J890-102

MODICON AS-J890-102
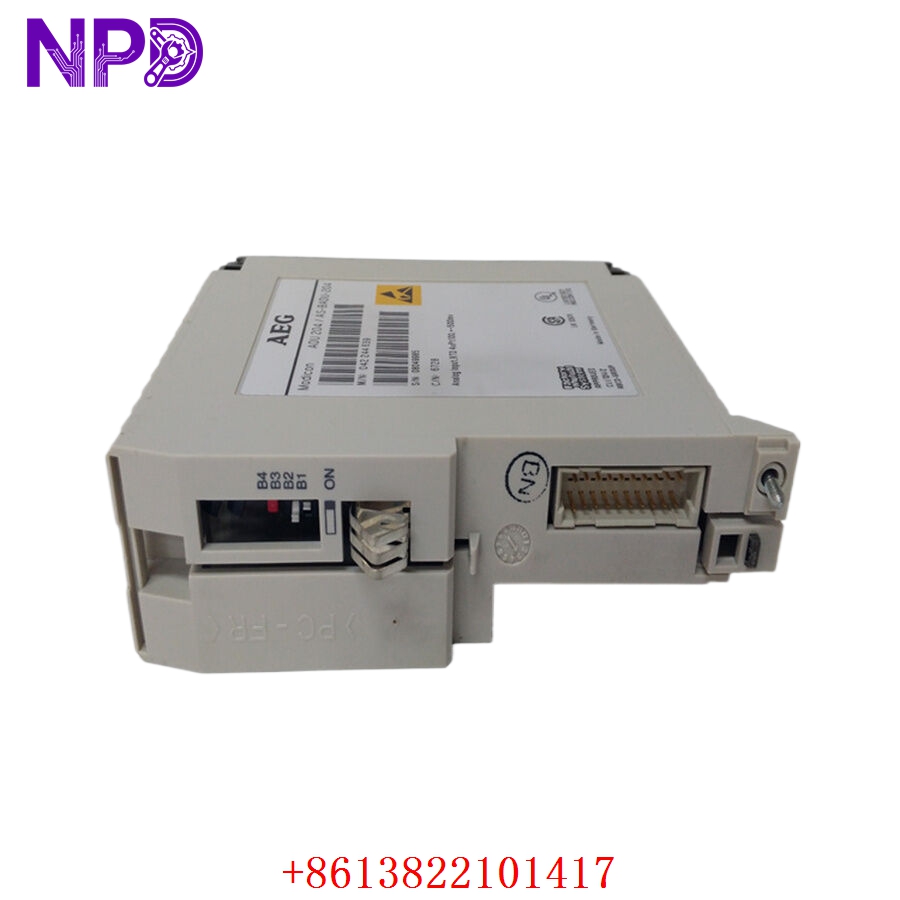
MODICON AS-BADU-204
Installation & Configuration Guide
Phase 1: Pre-Installation (Estimated time: 10 minutes)
⚠️ Safety Protocol:
- This module is part of an older, robust RIO network. Disconnecting it will drop all I/O in that specific rack. Ensure the process is stopped or bypassed.
- Verify the Drop Address on the old unit.
- Check the coaxial cable “F-connectors” for corrosion. Older Modicon systems are notoriously sensitive to signal noise from poor connections.
Phase 2: Removal (Estimated time: 5 minutes)
- Power Down: Switch off the power supply for the I/O housing (e.g., AS-P810 or AS-P830).
- Coax Removal: Unscrew the coaxial cable from the front of the AS-J890-102.
- Extraction: Loosen the top and bottom screws on the module faceplate. Pull the module forward using the handle/tabs to disengage it from the backplane.
Phase 3: Configuration (Estimated time: 10 minutes)
- Rotary Switches: On the side or front of the module, locate the rotary address switches. Set the new AS-J890-102 to the exact same Drop Address as the original.
- Termination: Ensure the RIO link is terminated correctly at the last drop. If this is the last drop, you need a 75-ohm terminator on the “OUT” port (if applicable) or on a T-tap.
Phase 4: Commissioning (Estimated time: 20 minutes)
- Insertion: Slide the module into the first slot of the housing. Tighten the faceplate screws to ensure a good frame ground.
- Reconnection: Re-attach the coaxial cable. Ensure the connection is “finger-tight plus a quarter turn.”
- Power Up: Turn the housing power on.
- Status Check: The “Ready” LED should be green. The PLC head-end should clear the “I/O Drop Fault” for this address. If the “Comm Error” light flashes, check your RIO cable integrity.
Customer Cases & Industry Applications
Case 1: Steel Mill Rolling Line Maintenance
Situation: A steel mill in Pennsylvania was using an older Modicon 984-785 system. The RIO interface (AS-J890-102) in the remote hydraulic room failed due to excessive vibration and heat. Task: Without this module, the entire rolling line was offline. Schneider Electric no longer stocked the 800-series parts as “new.” Action: We supplied a New Surplus unit. I suggested the customer also check their AS-H819 housing backplane for dust buildup, which often causes these older modules to overheat. Result: The mill replaced the unit and was back in production within 4 hours of delivery. They avoided an estimated $45,000 in lost production time.
Case 2: Paper Mill DCS Bridge
Situation: A paper mill in Finland needed to maintain their existing 800 Series I/O until a planned upgrade in 2027. They needed a “Zero Hour” spare to ensure reliability. Task: They rejected used parts from eBay due to the high failure rate of aged capacitors in the RIO circuitry. Action: We provided three AS-J890-102 modules in their original factory anti-static bags. We verified the internal rail voltages on our Modicon test rack before shipping. Result: The customer secured their critical spare inventory, ensuring they can reach their 2027 upgrade target without unplanned outages.
Frequently Asked Questions (FAQ)
Q: Is the AS-J890-102 compatible with Quantum RIO? A: Yes! You can use this module to connect 800 Series I/O drops to a Quantum PLC head-end using a 140CRP93100 or 140CRP93200 controller. This was a very common migration path in the late 90s.
Q: Why is my “Comm Error” LED flashing after I replaced the module? A: This is usually one of three things:
- The Drop Address rotary switches don’t match the PLC configuration.
- The coaxial connector is loose or dirty.
- The RIO cable is too close to high-voltage motor leads, causing EMI.
Q: Can I hot-swap this module? A: No. The 800 Series architecture is not designed for hot-swapping the RIO interface. Always power down the housing before removing or inserting the AS-J890-102.
Q: How can I tell if the module I bought is really “New Surplus”? A: Look at the coaxial connector and the backplane pins. A used module will have “wear rings” on the coax threads and slight scratches on the gold backplane contacts. Our New Surplus units have pristine, unscratched contacts and bright, unoxidized threads.