Description
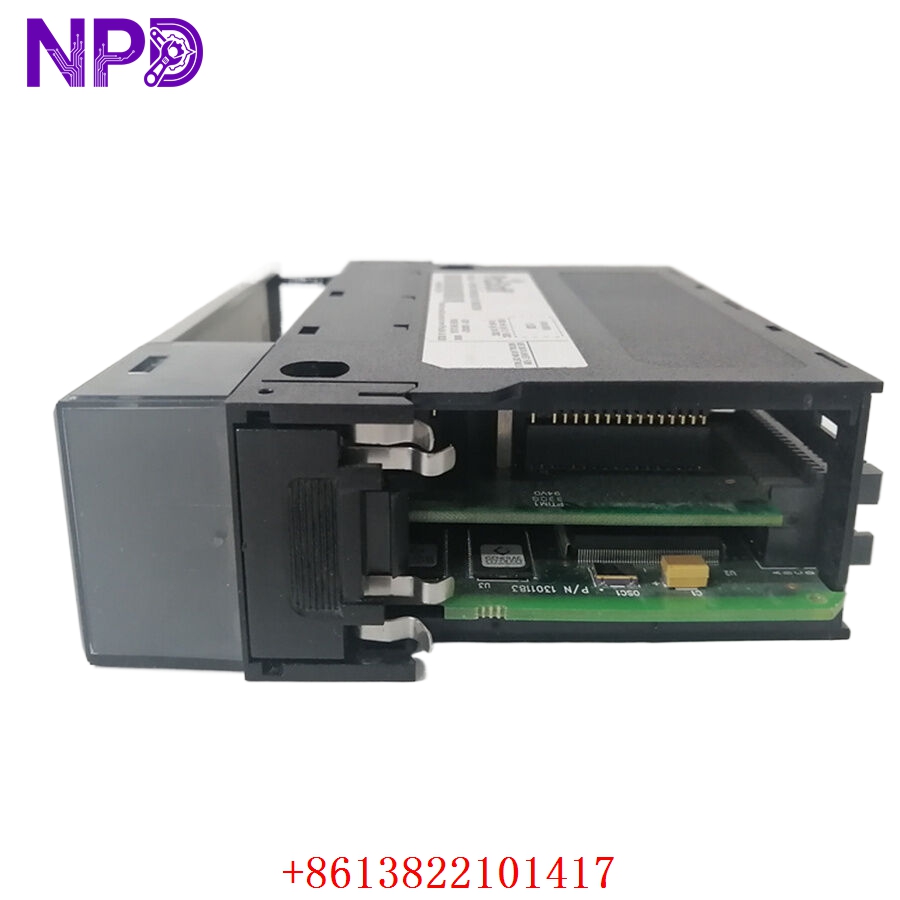
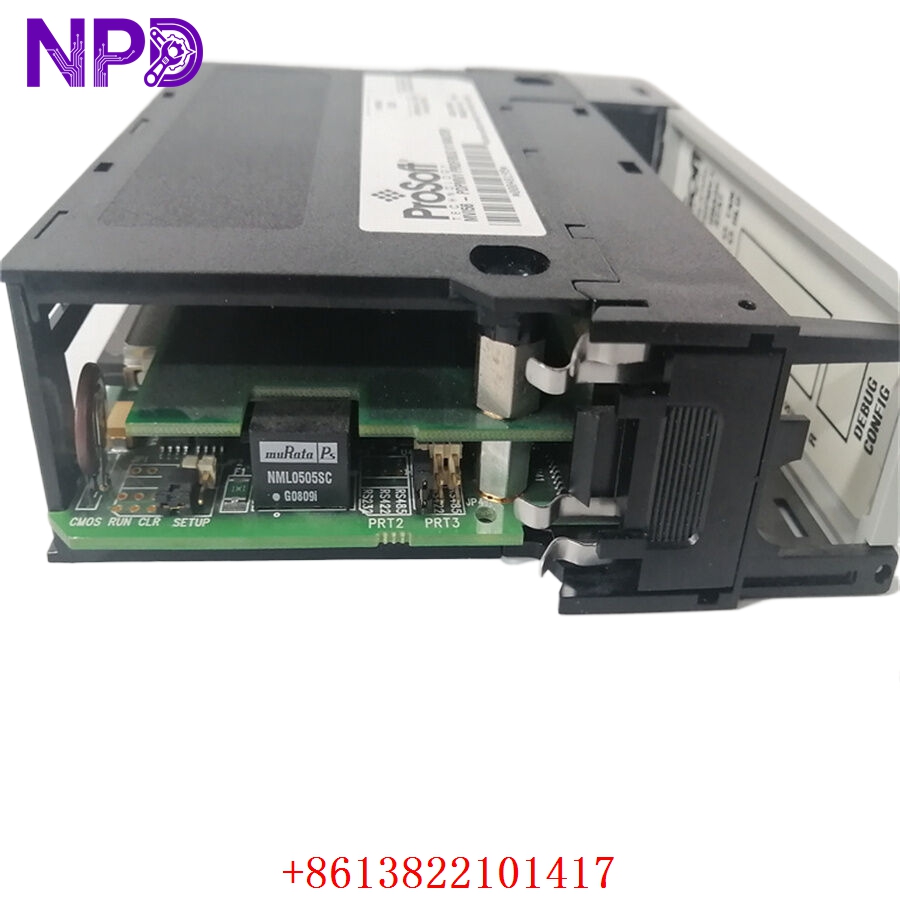
- Model: PROSOFT MVI56-PDPMV1
- Brand: ProSoft Technology
- Series: ControlLogix In-Chassis Communication Module Series
- Core Function: Connects ControlLogix PLCs to PROFIBUS DPV1 networks
- Product Type: PROFIBUS DPV1 Master Communication Module
- Key Specs: PROFIBUS DPV1 master, up to 12 Mbps, 1536 I/O bytes
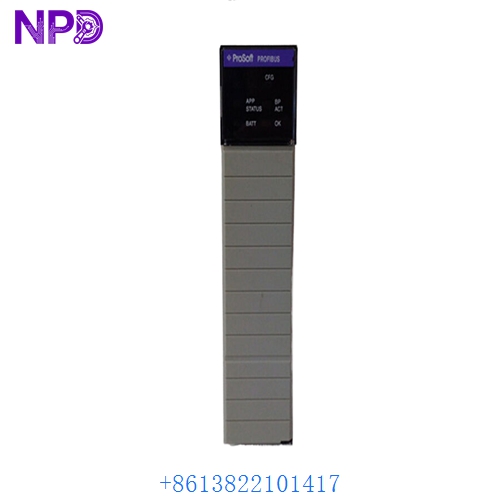
- Module Type: PROFIBUS DPV1 Master Communication Module
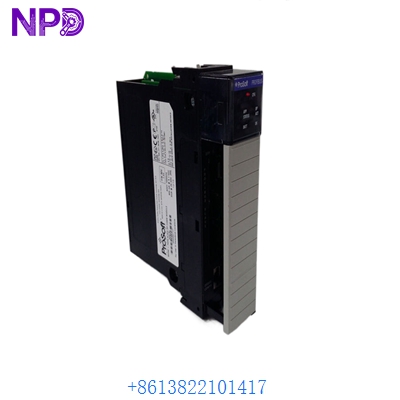
- Platform Compatibility: Rockwell ControlLogix 1756 rack
- Protocol Support: PROFIBUS DP Version 1 (DPV1)
- Communication Role: Master only operation
- Maximum PROFIBUS Speed: Up to 12 Mbps
- Slave Device Capacity: Up to 125 slaves with repeaters
- Cyclic Data Capacity: 1536 input bytes / 1536 output bytes
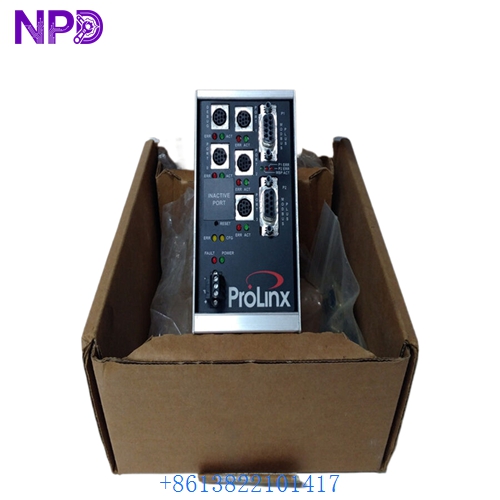
- Interface Type: Optically isolated RS-485 PROFIBUS port
- Connector Type: DB9 female PROFIBUS connector
- Backplane Load: 800 mA @ 5 VDC
- Operating Temperature: 0 °C to 60 °C
- Diagnostic Features: Extended DPV1 diagnostics and alarm handling
- Configuration Software: ProSoft Configuration Builder (PCB)
- Rack Support: Local or remote ControlLogix rack installation
PROSOFT MVI56-PDPMV1

PROSOFT MVI56-PDPMV1
PROSOFT MVI56-PDPMV1
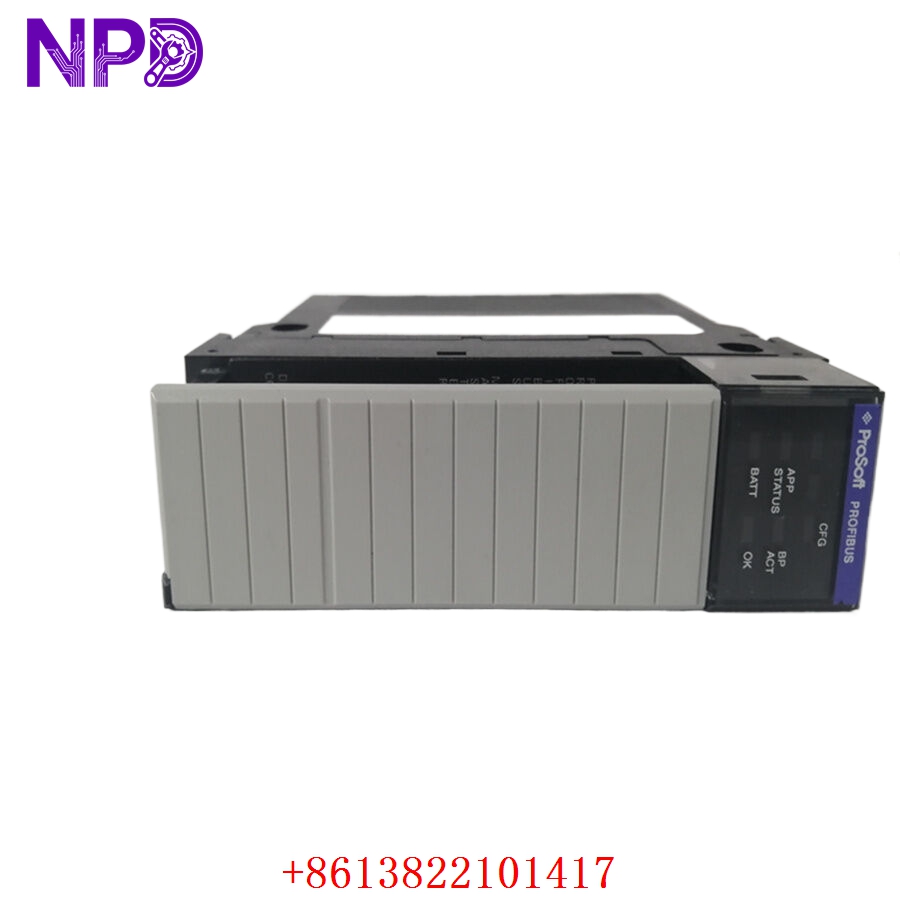
PROSOFT MVI56-PDPMV1
Installation & Configuration Guide
Stage 1: Pre-Installation Preparation (Approx. 20–30 minutes)
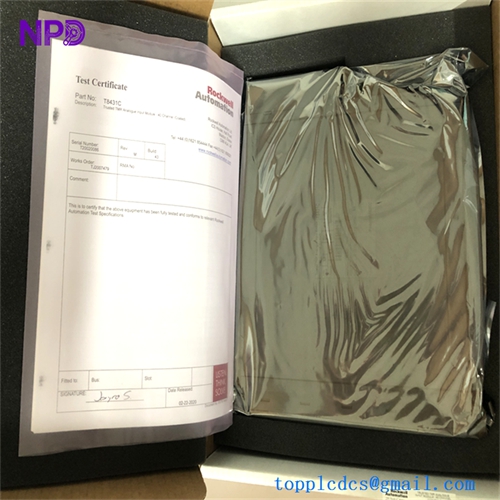
⚠️ Before replacing the module, confirm that the ControlLogix processor backup and PROFIBUS configuration files are fully archived.
- Notify production and controls teams
- Transition the process into safe operating mode
- Isolate ControlLogix rack power
- Verify all network segments are de-energized
Required tools:
- Anti-static wrist strap
- Fluke 115 multimeter
- PROFIBUS diagnostic tester
- Engineering laptop with Studio 5000
- ProSoft Configuration Builder software
Backup recommendations:
- Export PCB configuration files
- Save GSD device libraries
- Photograph PROFIBUS address assignments
- Record network baud rate and node topology
One thing experienced engineers learn quickly:
If the original PCB project file is missing, rebuilding a PROFIBUS network manually can become extremely time-consuming.
A Reddit user troubleshooting ProSoft communications noted that older software versions caused configuration backup problems until updated.
Stage 2: Removal of Existing Module (Approx. 10–15 minutes)
- Confirm rack power shutdown
- Disconnect PROFIBUS DB9 connector
- Label network cables carefully
- Unlock module retaining clips
- Slide module evenly from 1756 chassis
⚠️ Important:
Avoid pulling the module at an angle. ControlLogix backplane connectors can be damaged by uneven extraction force.