
Description
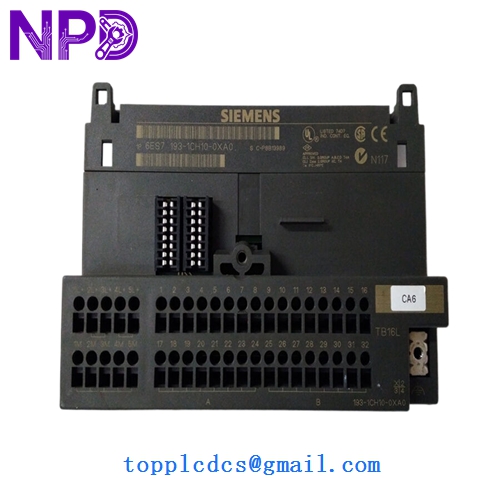
- Model: 6ES132-1BH00-0XB0
- Brand: Siemens (Germany)
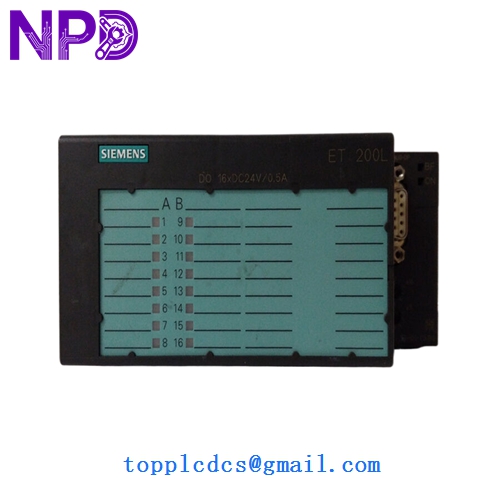
- Series: SIMATIC ET 200L (Compact I/O System)
- Core Function: Distributed digital output module for PLC systems
- Condition: Brand New Surplus (Original New), never installed or energized
- Product Type: 16-Channel Digital Output Module
- Key Specs: 24 V DC | 0.5 A per channel | 16 Channels
- Input Power: 24 V DC (L+)
- Number of Outputs: 16 Digital Outputs
- Output Current: 0.5 A per channel (Max)
- Total Current: 4 A per group (Check thermal derating for high-temp environments)
- Isolation: Optically isolated from the internal bus
- Connection Type: Integrated terminal block (L+ and M)
- Protection: Short-circuit protection (Electronic)
- Diagnostics: LED status indicator for each channel
- Dimensions: Compact footprint for tight cabinet spaces
- Communication: Interconnects via ET 200L bus connector
SIEMENS 6ES132-1BH00-0XB0
Installation & Configuration Guide
Phase 1: Pre-Installation (Preparation: 10 minutes)
⚠️ Safety Check: Before opening the cabinet, ensure the main PLC rack and the ET 200L station power are turned off. While these modules are low voltage (24V), working on a live backplane can cause communication spikes that trip the entire CPU.
Tools & Prep:
- Small flat-head screwdriver (for terminal wiring)
- Wrist strap for ESD protection
- Mark your cables! Since the ET 200L has a dense terminal layout, swapping wires 8 and 9 is a common headache.
Phase 2: Removing the Defective Module (Removal: 15 minutes)
- Labeling: Use a fine-tip marker to label all 16 output wires.
- Wiring Removal: Loosen the screws on the terminal block and pull the wires clear.
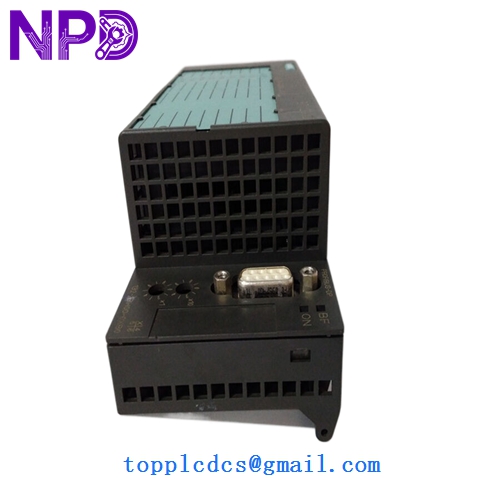
- Unmounting: The 6ES132-1BH00-0XB0 is typically DIN-rail mounted. Release the catch at the bottom of the module and pivot it upward.
- Bus Check: Inspect the side-mounted bus connector. If there is any corrosion or bent pins, clean them with a contact cleaner before installing the new unit.
Phase 3: Installing the New Module (Installation: 20 minutes)
- Mounting: Hook the top of the module onto the DIN rail and press down until you hear the “click.”
- Terminal Wiring: Re-insert the 16 signal wires plus the power (L+) and ground (M) lines.
- Torque Check: Tighten terminal screws to approximately 0.5 N·m. Over-tightening can strip the plastic housing on these older legacy modules.
Phase 4: Testing & Commissioning (Testing: 15 minutes)
- Power On: Switch on the 24V supply. The “SF” (System Fault) LED should stay off.
- LED Verification: Manually force the outputs from your Siemens Step 7 or TIA Portal software. Watch the green LEDs on the face of the module to confirm they match the software state.
- Load Check: Verify that the connected actuators (solenoids, relays, or lamps) are physically triggering.
SIEMENS 6ES132-1BH00-0XB0
Customer Cases & Industry Applications
Case 1: Food & Beverage Packaging Line A regional bottling plant used a legacy S7-300 system with ET 200L distributed I/O. A sudden internal short in a 24V solenoid valve blew the output stage of their last 6ES132-1BH00-0XB0. Siemens local office quoted 20 weeks for a “special build” replacement. We shipped an original new module from our inventory at www.newplcdcs.com the same day. Total downtime was reduced from months to just 48 hours.
Case 2: Extending Life of a Textile Machine A manufacturer in South Carolina had a fleet of 15-year-old knitting machines. The OEM suggested a “mandatory” control system upgrade costing $12,000 per machine. By sourcing three 6ES132-1BH00-0XB0 modules as strategic buffer stock, the maintenance manager was able to keep the existing machines running for another 5 years at a fraction of the upgrade cost.
SIEMENS 6ES132-1BH00-0XB0
Frequently Asked Questions (FAQ)
Q: Is this module compatible with TIA Portal? A: Yes, as long as your ET 200L head station (IM module) is configured in the hardware catalog. The 6ES132-1BH00-0XB0 is a standard GSD-based component.
Q: Why choose “New Surplus” over a used “Refurbished” unit? A: To be blunt, used 16-channel modules often have “tired” transistors. A refurbished unit might look clean, but if it was in a hot cabinet for 10 years, the opto-couplers are nearing the end of their life. Our New Surplus units have zero operational hours, giving you another 10-15 years of reliability.
Q: Do I need to change any software settings? A: No. If you are replacing a module with the exact same part number, it is “Plug-and-Play.” The PLC will not know the difference.
Q: Can I use this for AC loads? A: No. This is a 24 V DC module. Attempting to switch 110V or 230V AC will result in immediate destruction of the module and a potential fire hazard. Use interposing relays if you need to switch AC.