
Description
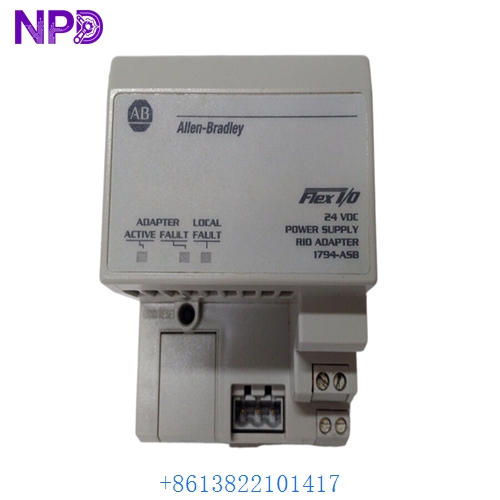
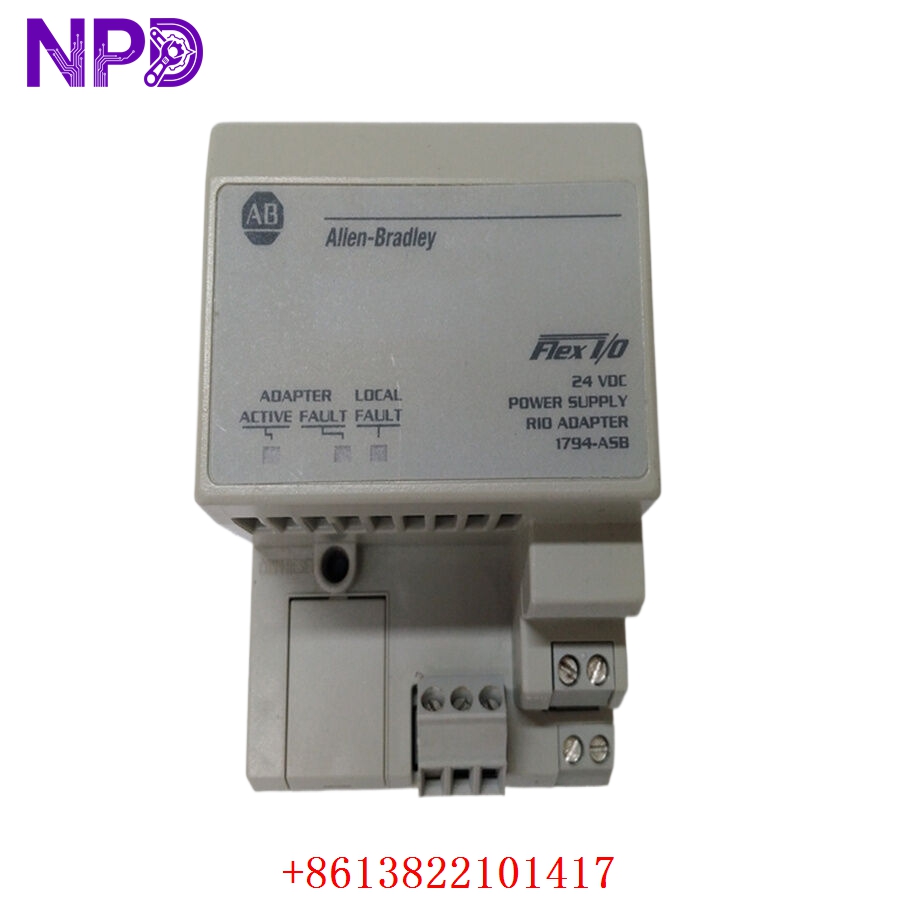
- Model: 1794-ASB
- Brand: Allen-Bradley / Rockwell Automation (USA)
- Series: Flex I/O (1794 Series)
- Core Function: Interfaces Flex I/O modules to a Remote I/O (RIO) link
- Type: Communication Adapter Module
- Key Specs: Supports up to 8 modules 57.6k to 230.4k Baud 24 V DC Power
Key Technical Specifications
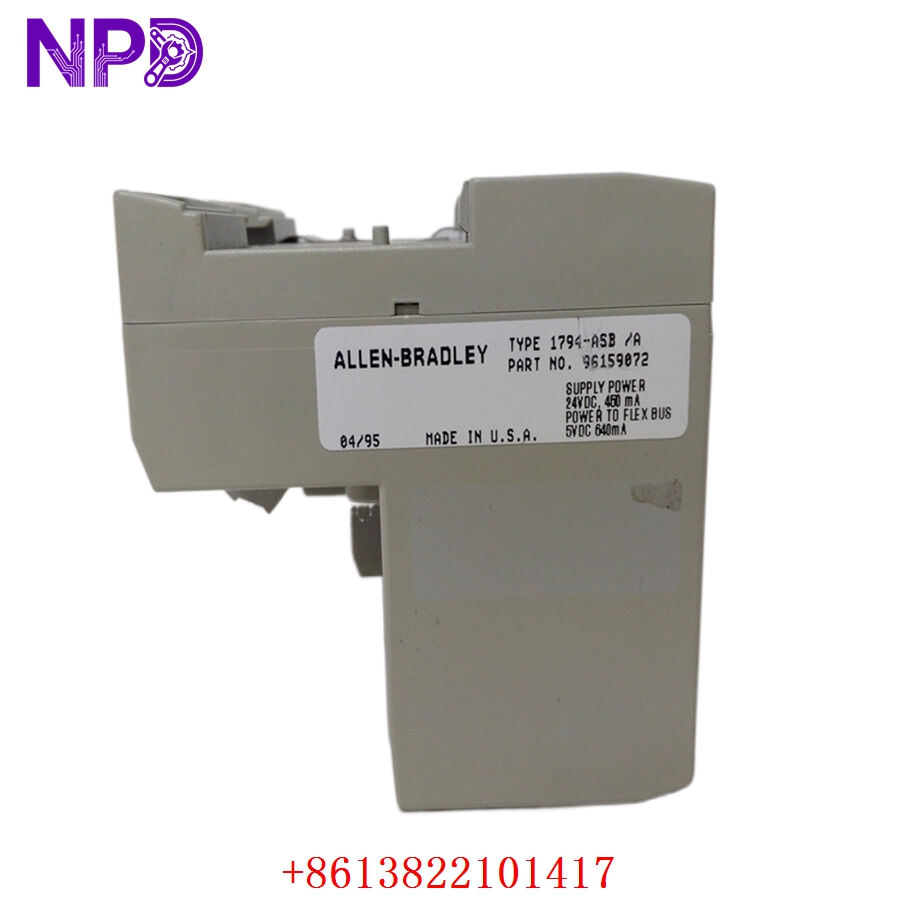
- Input Voltage: 24 V DC nominal (19.2 – 31.2 V DC range)
- Communication Rate: 57.6 kbps, 115.2 kbps, or 230.4 kbps (Switch selectable)
- I/O Capacity: Supports up to 8 Flex I/O modules per adapter
- Backplane Output Current: 640 mA max at 5 V DC
- Communication Protocol: Allen-Bradley Remote I/O (RIO)
- Module Power Consumption: 330 mA at 24 V DC
- Isolation Voltage: 500 V AC between I/O and communication link
- Indicators: LED for I/O Status, Power, and Comm Status
- Mounting: DIN Rail or Panel Mount
- Compatible Terminal Bases: 1794-TB2, 1794-TB3, 1794-TB3G, etc.
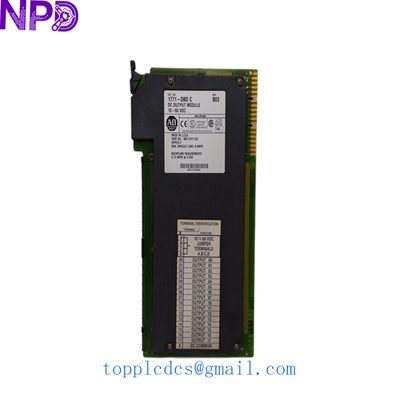
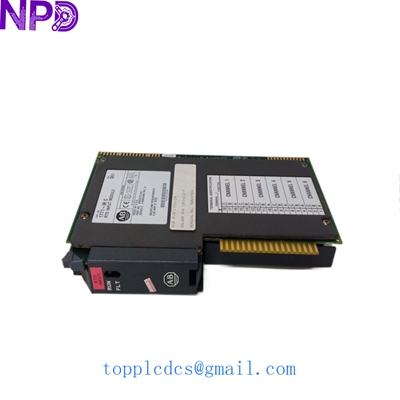
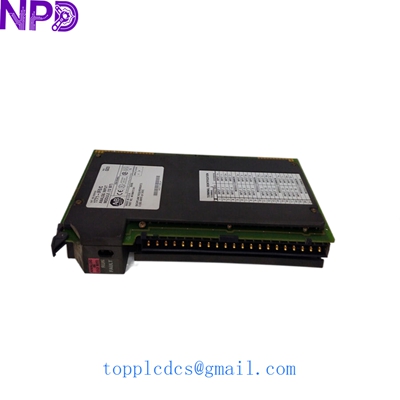
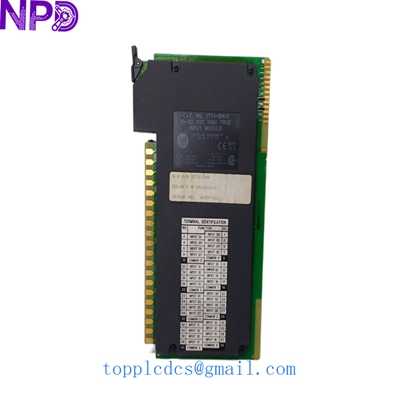
ALLEN BRADLEY 1794-ASB
ALLEN BRADLEY 1794-ASB
ALLEN BRADLEY 1794-ASB
ALLEN BRADLEY 1794-ASB
Installation & Configuration Guide
Phase 1: Pre-Installation (Estimated time: 10 minutes)
⚠️ Safety Protocol:
- This module is a “Remote I/O” device. Pulling it while the blue hose is active can fault the master scanner (PLC-5 or SLC 5/04). Notify operators before proceeding.
- Confirm your 24 V DC power supply is stable. Low voltage can cause intermittent “Comm” faults that are a nightmare to troubleshoot.
- Check the Series letter of your old unit (e.g., Series D vs. Series E). In some rack configurations, newer series require slight switch adjustments.
Phase 2: Removal (Estimated time: 5 minutes)
- Power Down: Disconnect the 24 V DC power from the terminal base.
- Disconnect RIO: Unscrew the 3-pin phoenix connector (the blue hose link).
- Extraction: Press the release lever on the top of the 1794-ASB and slide it off the terminal base, moving it vertically away from the DIN rail.
Phase 3: Configuration (Estimated time: 15 minutes)
- DIP Switch Setup: This is where most mistakes happen. The 1794-ASB has three sets of DIP switches (S1, S2, and S3) used to set the Rack Address, Baud Rate, and I/O Grouping.
- Comparison: Look at the side of your old module. Flip the switches on the new 1794-ASB to match exactly.
- Addressing Tip: Remember that RIO uses octal addressing. If your PLC-5 sees this as Rack 03, your switches must represent octal 03, not decimal.
Phase 4: Commissioning (Estimated time: 15 minutes)
- Seating: Align the 1794-ASB with the terminal base and snap it into place. Ensure the side connectors engage with the adjacent Flex I/O modules.
- Reconnect: Plug in the RIO connector and the 24 V DC power.
- Status Check:
- I/O Status (Green): Normal.
- Comm Status (Green): Communicating with scanner.
- Power (Green): External 24V is present.
- Verification: Check the PLC scanner status. If you see a “Rack Fault” or “I/O Rack Not Found,” double-check your terminating resistor (usually 82Ω or 150Ω) at the end of the line.
Customer Cases & Industry Applications
Case 1: Oil Rig Mud Pump Control System
Situation: An offshore rig in the North Sea had a 1794-ASB fail in a remote cabinet. The mud pumps, controlled via a legacy PLC-5 system, became unresponsive. Task: Logistics to offshore sites are difficult. The customer needed a guaranteed working part because sending a technician twice costs $10,000 in helicopter fees alone. Action: We supplied a Series E 1794-ASB. I suggested they also replace the 3-pin RIO connector, as vibration often loosens the terminals. We performed a full 24-hour communication stress test before shipping. Result: The rig crew installed the unit successfully on the first attempt. The “New Surplus” quality ensured that the rig didn’t have to worry about component aging in the salty, humid environment.
Case 2: Warehouse Conveyor Logic Bridging
Situation: A logistics hub was migrating from a PLC-5 to a ControlLogix system. They wanted to keep their existing Flex I/O racks to save on wiring costs. Task: They needed to replace a damaged 1794-ASB while they waited for their new 1794-AENT (Ethernet) adapters to arrive in 6 months. Action: We provided a 1794-ASB as a “stop-gap” spare. I walked their maintenance lead through the switch settings for “Partial Rack” addressing, which they had previously misconfigured. Result: The conveyor line stayed operational throughout the transition period, avoiding a full-scale shutdown and allowing the migration to happen in phases.
Frequently Asked Questions (FAQ)
Q: My module has a “Comm Fault” (Red LED). Does this mean the 1794-ASB is dead? A: Not necessarily. A solid red Comm LED means the adapter sees the RIO link but cannot communicate. Usually, this is due to a Baud Rate mismatch or a duplicate Rack Address. Double-check your DIP switch settings against your PLC scanner configuration. If the LED is flashing, check the physical blue hose connections.
Q: Can I mix Series D and Series E modules in the same rack? A: Yes, Flex I/O is designed for backward compatibility. However, Series E modules have improved diagnostic capabilities. In my experience, if you are replacing an older Series B or C, the Series E 1794-ASB is a much more stable choice for modern high-speed RIO links.
Q: Why don’t you recommend “Used” or “Pull” units for the 1794-ASB? A: The 1794-ASB is the “brain” of the remote rack. If it fails, all 8 modules attached to it go offline. Used units often have worn-out internal 5V regulators. For a critical control point, the $200 you save on a used unit isn’t worth the risk of losing an entire I/O rack in the middle of a production run.
Q: Does this module require a battery? A: No, the 1794-ASB stores its configuration via physical DIP switches. It does not require a battery for memory backup, making it very low-maintenance once installed.
Q: Can I use this with a ControlLogix system? A: Yes, but you need a 1756-DHRIO or 1756-RIO module in the ControlLogix rack to act as the scanner. While most people are moving to Ethernet (1794-AENT), the 1794-ASB is still a solid choice for maintaining existing Remote I/O infrastructure.