Description
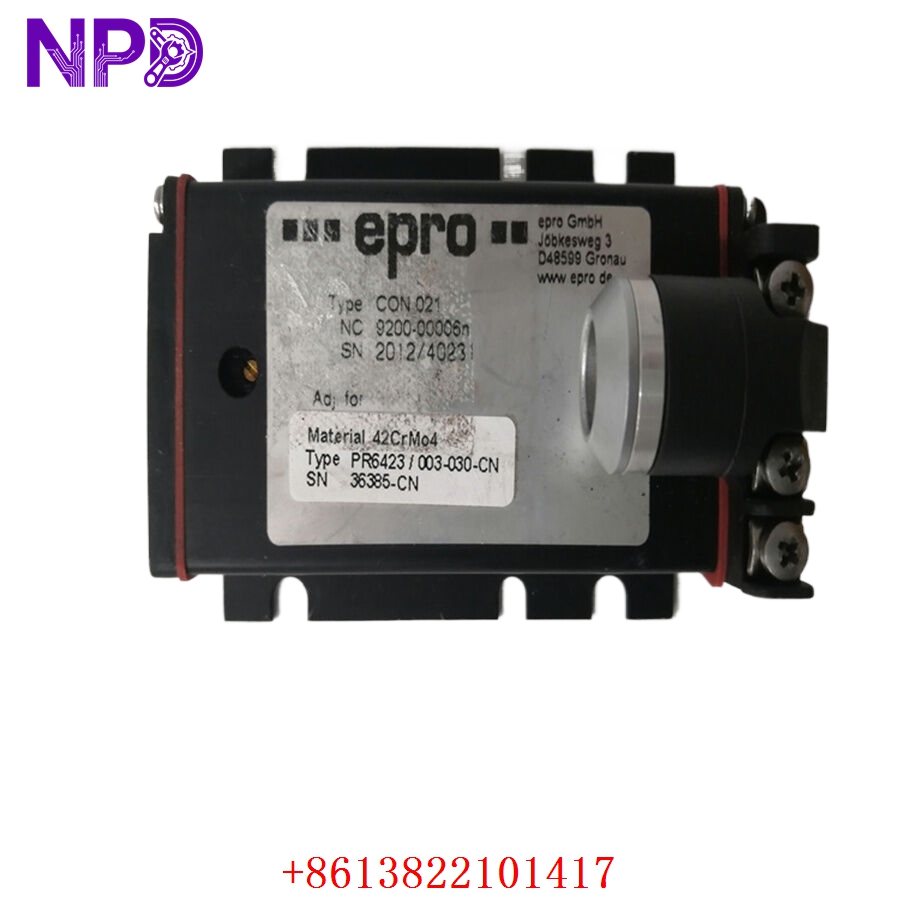
- Model: CON021 (Internal Factory Code: 9200-0006n)
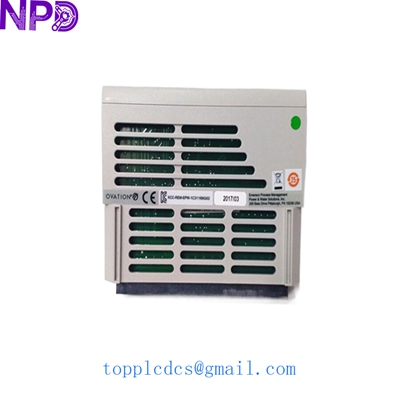
- Brand: EPRO / Emerson (MMS6000 / MMS3000 Series compatible)
- Series: Machinery Health Management / MMS Vibration Monitoring System
- Core Function: Converts raw high-frequency eddy current sensor inputs into linear voltage/current signals for displacement, position, eccentricity, and speed tracking
- Condition: Brand New Surplus (Original factory-sealed package with matching serial codes)
- Type: Eddy Current Signal Converter (Pre-amplifier / Proximitor)
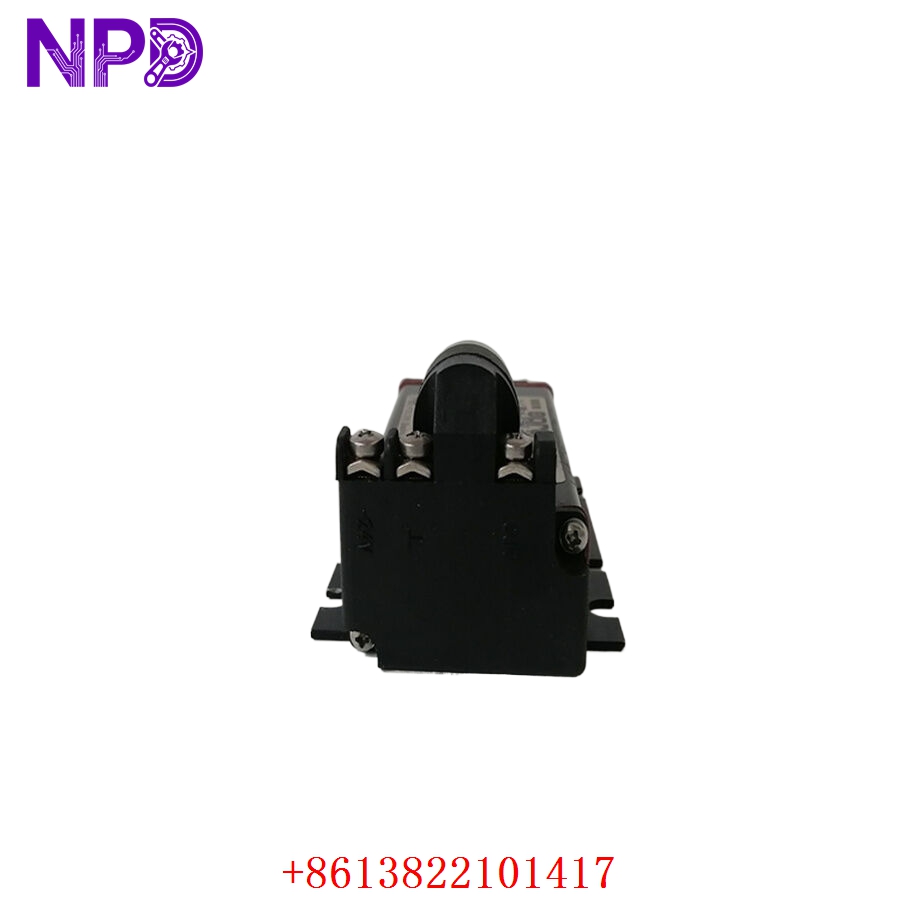
- Key Specs: Lemo self-locking transducer plug, standard screw terminal output, -24V DC nominal power grid
- Frequency Response: 0 Hz to 20,000 Hz (-3 dB dynamic processing bandwidth)
- Signal Rise Time: Less than 15 µs high-speed transient pulse response
- Transducer Compatibility: Directly matches EPRO PR6422, PR6423, PR6424, and PR6426 eddy current sensors
- Standard Measuring Spans: 1.0mm (PR6422), 2.0mm (PR6423), 4.0mm (PR6424), 8.0mm (PR6426)
- Linearity Error Deviation: \le 1.0% to \le 1.5% of full-scale calculation parameters
- Input Voltage Range: -23V DC to -32V DC operational input limits
- Conditioned Output Signal: Formats match standard -4V to -20V or -2V to -18V industrial metrics
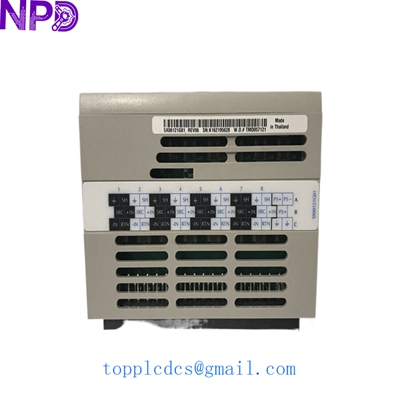
- Transducer Connection: Self-locking Lemo-plug receptacle configuration
- Output Interface: Heavy-duty screw terminal block supporting up to 1.5 mm² wiring profiles
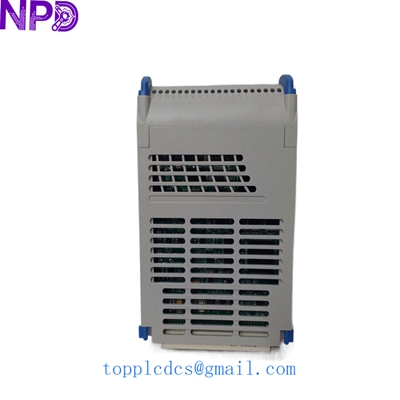
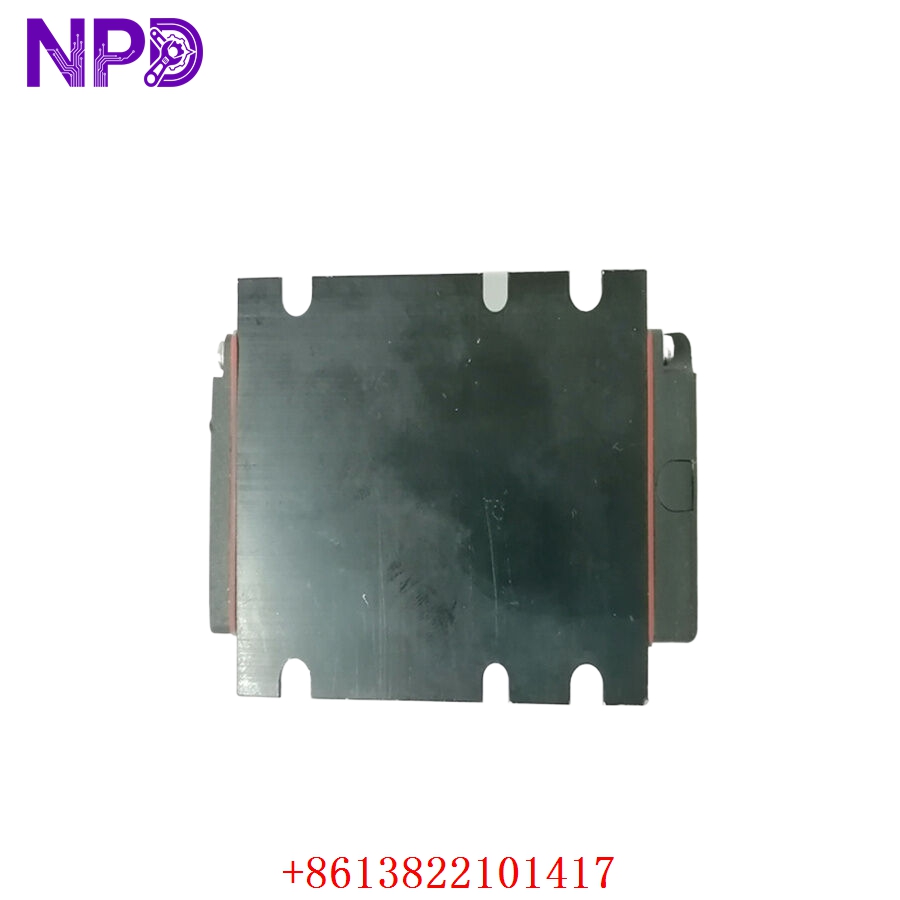
- Housing Construction: Ruggedized LMgSi 0.5 F22 lightweight alloy enclosure
- Environmental Rating: IP20 ingress defense / Operational temperature tolerance from -30°C to 100°C
- Vibration Resistance: 5g @ 60 Hz acceleration stability metrics at 25°C
- Hazardous Approvals: ATEX II 2 G Ex ia IIC T4 Gb intrinsically safe certified (when paired with active safety barriers)
EPRO 9200-0006n CON021
EPRO 9200-0006n CON021
EPRO 9200-0006n CON021
Installation & Configuration Guide
Phase 1: Pre-Installation (Estimated time: 10 minutes)
⚠️ Safety First:
- Confirm with the monitoring deck operator before disconnecting active vibration or machinery protection loops to prevent false trip indicators.
- Ensure the surrounding enclosure area is clean, dry, and clear of ambient oil mist or chemical moisture residues.
- Verify that the power source feeding the sensor rack loop is safely deactivated or isolated at the sub-panel breaker.
Tools and Materials:
- Small precision flathead terminal screwdriver (2.5mm tip)
- M5 mounting fasteners (4 pieces, typically included in factory box assembly)
- Grounding anti-static wrist strip
- Contact cleaner fluid for high-frequency signal coupling optimization
Backup Actions:
- Document the calibration parameters and linear slope metrics matching the specific PR64xx sensor probe paired with this converter unit.
Phase 2: Removal (Estimated time: 5 minutes)
- Secure your static control wrist wrap to the nearest dedicated machinery frame earth bar.
- Disconnect the sensor lead by pulling straight back on the self-locking Lemo-plug knurled ring (do not twist or pull the cable wire directly).
- Unscrew the terminal blocks running the supply line and signal output leads, noting the wire color paths.
- Remove the 4 corner M5 mounting screws securing the alloy casing to the sub-plate frame and extract the module layout.
Phase 3: Installation (Estimated time: 10 minutes)
- Mount the new CON021 converter onto the panel rail sheet or wall structure using the 4 provided M5 fasteners, checking that structural grounding contact is solid.
- Connect the probe cable Lemo-plug into the front panel receptacle socket; push straight forward until the internal lock alignment clicks.
- Trim back and dress output wires to prevent raw strands from shorting across adjacent termination pins.
- Secure the power input and signal output lines back into the dedicated screw terminals matching the wiring layout diagram.
Phase 4: Power-On & Loop Verification (Estimated time: 15 minutes)
- Turn on the system’s power loop and measure across the supply terminals with a digital multimeter to verify input voltage stays between -23V DC and -32V DC.
- Measure the baseline gap voltage output at the monitoring panel terminal blocks.
- Compare the baseline gap metrics to the original commissioning log specs to verify the probe face clearance matches the expected mechanical shaft position.
- Run standard machinery startup tracking routines to ensure the vibration trend readouts register smoothly without noise anomalies or signal drops.
Customer Cases & Industry Applications
Case 1: Petrochemical Plant Compressor Train Restoration
Situation: A major refinery’s critical gas compressor train experienced erratic vibration spikes that threatened to trigger an automatic plant trip sequence. Maintenance logs identified the issue as a decaying signal converter unit on the radial shaft monitoring line, caused by years of high ambient operating temperatures near the turbine housing deck.
Task: Sourcing an immediate replacement module through normal channel distribution networks threatened a 6-week factory lag time estimate. With production downtime costs tracking at thousands of dollars per hour, waiting on factory production was out of the question.
Action: The procurement officer utilized our global component supply lines to source a ready-to-ship, factory-sealed CON021 unit. The part was prepared, certified, and dispatched via priority air freight within hours of receiving the initial technical query.
Result: The tracking module reached the refinery within 48 hours. Field maintenance personnel mounted the alloy casing, seated the Lemo sensor plug, and brought the loop back online. Signal transmission smoothed out instantly, preventing a costly plant shutdown and keeping the refinery’s daily production output safely on schedule.
Case 2: Hydroelectric Power Station Preventive Upgrade
Situation: An operational hydro station running continuous baseload generation schedules planned a preventive mid-life overhaul of its water turbine guide bearing monitors to improve overall safety loop performance.
Task: The plant technical group needed to secure reliable components that perfectly matched their existing inventory of PR6423 proximity probes without forcing a costly complete replacement of their field sensor array.
Action: We partnered with their instrumentation division to deliver a matched pool of New Surplus CON021 converters, complete with original documentation to verify model matches.
Result: The station successfully carried out its upgrade schedule within budget, extending system service life by matching newer hardware blocks directly into their classic monitoring loops.
Frequently Asked Questions (FAQ)
Q1: What is the main difference between a standard CON021 and the CON021/91x series?
A: The base CON021 is calibrated to handle standard sensor measurement ranges (e.g., a 2.0mm range when paired with a PR6423 probe). The CON021/91x variants (such as the CON021/916-160) are specialized extended-range converters configured for wider measurement requirements or unique sensor combinations like the PR6425. For standard applications, the base CON021 provides exceptional accuracy within the standard factory envelope.
Q2: Does this unit require manual calibration after field installation?
A: The converter is factory-calibrated to work out of the box with its specified sensor family (PR6422 to PR6426 series). However, you should always check the DC gap voltage reading using a digital multimeter during installation to ensure the probe tip is correctly positioned relative to the target shaft.
Q3: Can this component handle high-vibration environments directly on a machine frame?
A: Yes, it features a rugged LMgSi alloy shell rated for up to 5g of continuous vibration resistance at 60 Hz. That said, for maximum longevity and to protect the internal signal processing components, we always recommend mounting it inside a field junction box or an instrument enclosure near the machine rather than directly on high-stress turbine casings.
Q4: How do you guarantee the authenticity and condition of this surplus part?
A: Every CON021 module we ship goes through a strict visual and multi-point physical trace audit. We ship the units inside original factory-labeled packaging with intact anti-static bags, and we provide clear high-resolution product photos before packing so your quality team can confirm condition prior to shipment.
Q5: What are the standard shipping arrangements for urgent system maintenance needs?
A: We provide daily priority dispatch via major international networks like DHL Express and FedEx Priority. Shipments to most industrial centers, power stations, and global automation hubs typically arrive within 3 to 5 business days, complete with automated tracking tracking and optimized customs paperwork to prevent delivery delays.